
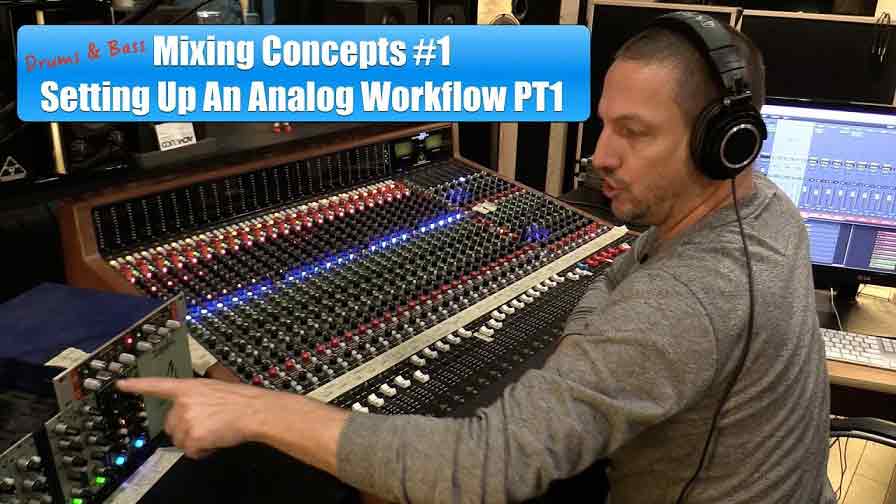
How to setup mixing console for recording? There is no one-size-fits-all answer to this question, as the setup of a mixing console for recording will vary depending on the specific requirements of the project.
However, there are some general tips that can be followed in order to ensure that the mixing console is set up correctly for recording.
Firstly, it is important to ensure that all of the necessary input channels are properly assigned and routed to the correct mix bus.
This will ensure that each track is captured correctly and sent to the appropriate destination during the recording process.
Next, it is often helpful to create a rough mix of all of the tracks before starting the actual recording process. This will give you a good idea of how all of the tracks should sound together, and allow you to make any necessary adjustments to levels or EQ before committing them to tape.
Finally, once everything is set up and ready to go, take a few minutes to listen back through everything once again just to double check that everything sounds as it should. Then hit record and capture your masterpiece!
Find out a Best Mixing Console For Recording Studio for your studio.
Table of Contents
How to Setup Mixing Console for Recording
- Choose the type of mixer you need
- The two most common types are analog and digital mixers
- Consider how many channels you need, what features are important to you, and your budget when making your decision
- Connect all of your audio sources to the mixer using XLR or 1/4″ cables
- Make sure that each input is properly labeled so you know which channel it is going to
- Connect your mixer to your recording device using either an optical cable or an RCA cable
- If you are using an analog mixer, connect it to a power source so that it can turn on
- Turn on both the recording device and the mixer
- Adjust the levels for each input until they are peaking at around 0 dB without clipping
- Start recording
How to Set a Mixer to Produce Good Sound
Are you working with a new mixer and having trouble getting good sound out of it? Or maybe you’ve had your mixer for awhile but never really learned how to set it up properly. Either way, this guide will teach you everything you need to know about setting a mixer to produce great sound.
To start, let’s go over the basic controls on a typical mixer. Each input channel on a mixer will have its own volume control, as well as EQ controls that let you adjust the highs, lows, and mids. There may also be additional controls like reverb or delay.
The master output will also have its own volume control and EQ controls. Now that we know what all the knobs and buttons do, let’s talk about how to actually use them. When setting up your mix, it’s important to keep in mind the “80/20 rule.”
This rule says that 80% of the time you should be adjusting the levels (volume) of your tracks, and only 20% of the time should you be adjusting the EQ. So don’t get too caught up in trying to perfect the EQ settings – just focus on getting the levels right first.
A good starting point for setting levels is to bring all of them down to zero and then slowly bring up each one until you can hear it in the mix.
As you’re doing this, pay attention to how each track sounds in relation to all of the others – are some tracks too loud or too soft? Once everything is at a good overall level, then you can start fine-tuning by using EQ to boost or cut certain frequencies as needed.
For example, if a track sounds muddy or unclear, try cutting some of the low frequencies with an EQ; if it sounds shrill or thin, try boosting some highs.
Experiment until everything sounds balanced and clear. And that’s really all there is to it!
How Do You Set a Mixer for Recording?
Assuming you would like a blog post discussing how to set up a mixer for recording purposes: When it comes to audio mixing, there are several different ways that you can set up your mixer. It really depends on what type of recording you are trying to do and what kind of sound you are going for.
In this article, we’re going to discuss how to set up a mixer for recording purposes. One of the most important things to consider when setting up your mixer is the input level. You want to make sure that the input level is not too low or too high.
If it’s too low, you won’t be able to get a good quality recording. If it’s too high, you might end up with distortion or clipping. The best way to adjust the input level is by using a meter.
Most mixers have some sort of built-in meter that will help you keep an eye on the levels. Another thing to keep in mind is the EQ settings on your mixer. EQ stands for equalization and it basically allows you to adjust the frequencies of the audio signal.
For example, if you want more bass in your recordings, you would turn up the EQ knob for the lower frequencies. Conversely, if you want less bass, you would turn down that same knob. Again, it really depends on what sound you’re going for and what type of recording you’re doing as to how much EQ adjustment you’ll need to make.
Finally, another key factor in getting a good recording is making sure that your levels are balanced between all of the different channels on your mixer. You don’t want one channel significantly louder than all of the others because that will throw off the whole mix. A good way to check this is by using headphones while you’re monitoring your levels during recording sessions.
How Do I Record Audio from My Mixer?
Assuming you would like to know how to record audio from a mixer to a computer: First, connect the main output of the mixer to the line input of an external sound card or audio interface. Then, launch your digital audio workstation software and create a new project.
Next, create a new mono or stereo audio track in your DAW and select the line input of your sound card or interface as the input source for the track. Finally, arm the track for recording and press record.
How Do I Connect My Mixing Console to Audio Interface?
Assuming you have a basic understanding of your audio interface and mixing console, here is how you would connect the two:
1) Start by connecting the main outs of your mixing console to the line inputs of your audio interface.
2) Next, connect the insert send and return jacks on your mixer to the appropriate jacks on your interface. This will allow you to use plug-ins within your DAW while recording.
3) If you want to record multiple channels at once, you will need to use the direct out jacks on your mixer and connect them to the line inputs on your audio interface.
4) Finally, make sure that both devices are powered on and that they are set to the same sample rate.
Once everything is connected, you should be able to record directly into your DAW!
Also Read: What is Matrix on Mixing Console?
How Do Recording Consoles Work?
Recording consoles, also known as mixing consoles or soundboards, are devices used to control audio signals in a recording or live sound environment. The console typically consists of a preamp section, where the signal from the microphone or instrument is amplified, and a mixer section, where the signal is combined with other signals from other sources such as tape machines or digital audio players. The console also usually has EQ (equalization) and dynamics processors that can be used to shape the sound of the final mix.
The goal of using a recording console is to get all of the desired sounds into one place so that they can be mixed together. In a studio setting, this means getting all of the recorded tracks from the various instruments and voices into the mixer, and then adjusting levels, EQ, and effects to create a pleasing balance. In a live setting, it means getting all of the microphones set up so that they can be mixed together in real time.
There are many different types and sizes of recording consoles available on the market today. Some are designed for specific applications such as mixing music or processing vocals; others are more general purpose. The price range for consoles can also vary widely, from several thousand dollars for a high-end model down to just a few hundred for a basic unit.
No matter which type of console you use, understanding how it works is essential to getting good results. In this article we’ll take an in-depth look at how recording consoles work, including both their analog and digital versions.
DAW/Mixing Console Routing – Part 1 – Recording
Also Read: What You Need to Know About Live Mixing Consoles?
Conclusion
Finally, we hope that now you understand how to setup mixing console for recording. So it’s not too late to get started right now by properly setting up your mixing console.

Williams Kane is a blogger and writer. He’s passionate about writing and connecting with the community, especially when it comes to sharing his ideas through writing.
I am a versatile author with a passion for exploring a wide range of topics on our multi-niche website. With a background in research and a love for writing, I bring a unique blend of expertise to our platform.
My journey began in the world of science, where I earned a degree in biology and developed a deep fascination for the natural world. This background enables me to delve into topics related to ecology, environmental conservation, and the wonders of the animal kingdom.
However, my curiosity knows no bounds, and I have ventured into various other niches as well. From technology trends and digital innovations to health and wellness tips, I strive to provide well-researched and engaging content that informs and entertains our diverse audience.
Furthermore, my dedication to staying current with the latest developments in each niche ensures that our readers receive up-to-date and reliable information. Whether it’s deciphering complex scientific concepts or simplifying tech jargon, I take pride in making complex subjects accessible to all.
Join me on our multi-niche journey, where we explore the depths of knowledge and share insights on a multitude of topics to inspire, educate, and entertain.