
Finishing a wood cutting board is essential for its durability. It also makes the board safe for food.
Properly finishing your cutting board enhances its life and appearance. It’s an easy task that anyone can do at home. With the right steps, your board will be smooth and ready for use. This guide will help you understand the process.
You’ll learn what materials to use and how to apply them. Finishing your cutting board will protect it from moisture and bacteria. It will also make it easier to clean. Let’s dive into the steps needed to achieve a well-finished wood cutting board.
Choosing The Right Wood
Selecting the right wood ensures durability and quality. Opt for hardwoods like maple or walnut for your cutting board. Proper finishing prevents moisture damage and extends its lifespan.
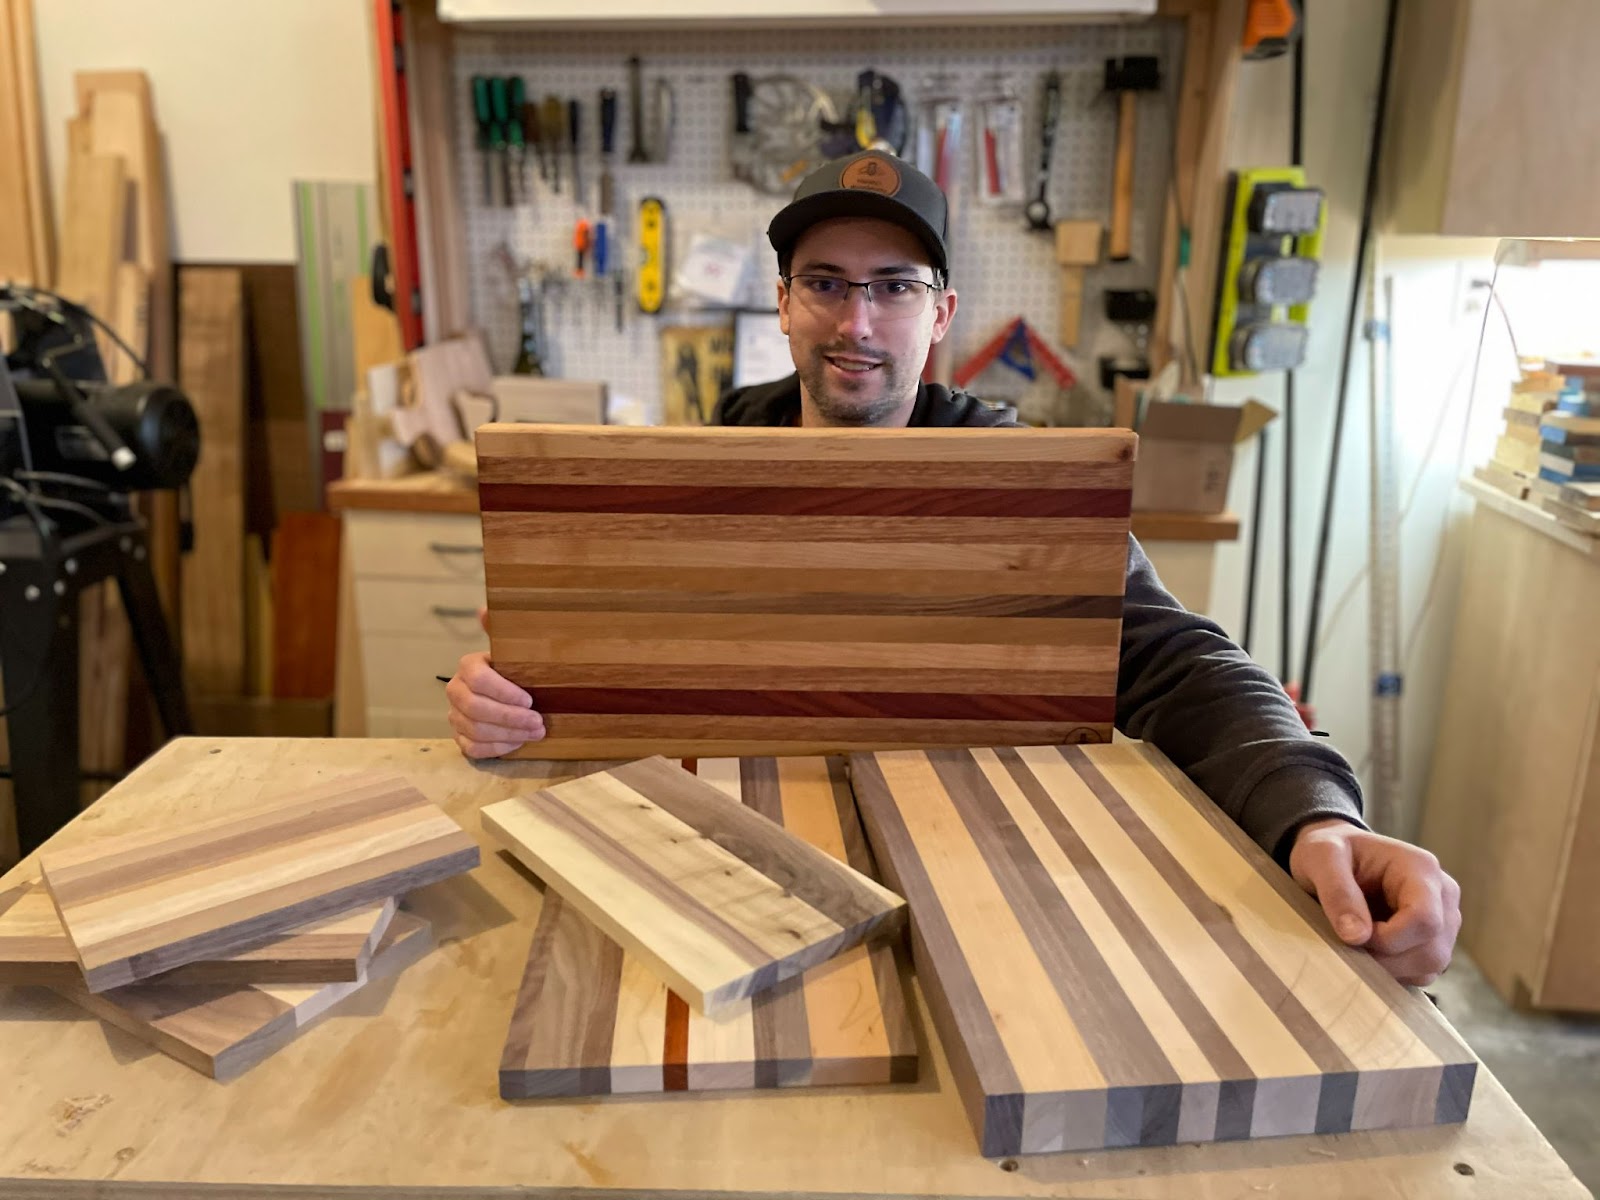
Choosing the right wood for your cutting board can be the difference between a functional kitchen tool and a beautiful piece of art. The type of wood affects the board’s durability, maintenance, and even the safety of your food. Picking the right one ensures your cutting board lasts for years and remains a joy to use.
Popular Wood Types
Several types of wood are ideal for cutting boards. Maple is a popular choice due to its hardness and closed grain, which makes it less likely to harbor bacteria. Walnut is another excellent option; it’s a bit softer than maple but offers a beautiful dark color that adds elegance to your kitchen.
Cherry wood is also favored for its rich, warm tones and moderate hardness. It’s durable enough for daily use but gentle on knives. Beech is a light-colored wood that is hard and has a tight grain, making it another hygienic option.
Wood Grain And Stability
The grain of the wood you choose impacts your cutting board’s performance. End-grain boards are made from small blocks with the grain running vertically. These boards are gentle on knives and self-healing, meaning they close up after being cut.
Edge-grain boards, on the other hand, are made from long strips of wood with the grain running horizontally. They are usually more affordable and still offer good durability. However, they can be harder on your knives over time.
Consider the stability of the wood as well. Some woods, like maple and walnut, are less likely to warp or crack. This means your cutting board will stay flat and functional for longer.
Personal Insight
I once made a cutting board from a beautiful piece of cherry wood. The rich color and smooth finish made it a standout in my kitchen. However, I found it required a bit more maintenance to keep it looking its best. Regular oiling was necessary to prevent drying and cracking.
Thought-Provoking Question
Have you ever considered how the type of wood in your cutting board affects not just its look, but its functionality and longevity? Choosing the right wood can make all the difference in your cooking experience.
Preparing The Board
Finishing a wood cutting board involves multiple steps. Preparing the board is crucial. This ensures a smooth surface for finishing. Proper preparation prevents uneven application of oils or finishes.
In this section, we’ll explore sanding techniques and cleaning the surface. These steps are vital for a polished, durable cutting board.
Sanding Techniques
Sanding is the first step in preparing your cutting board. Start with coarse grit sandpaper. This removes any rough spots or imperfections. Gradually move to finer grits. This ensures a smooth surface.
Use a sanding block for even pressure. Sand along the grain of the wood. This prevents scratches and ensures a smooth finish. After sanding with fine grit, your board should feel smooth to the touch.
Cleaning The Surface
After sanding, clean the board’s surface. Remove all dust and debris. Use a damp cloth to wipe the board. This helps to remove fine particles.
Ensure the board is completely dry before proceeding. Any moisture can affect the finishing process. A clean, dry surface ensures a smooth application of oils or finishes. This step is vital for a professional look.
Applying The Finish
Applying a food-safe oil to a wood cutting board helps protect and extend its life. Spread the oil evenly, then let it soak overnight. Finally, wipe off any excess for a smooth finish.
Finishing a wood cutting board is a crucial step to ensure its longevity and functionality. Applying the right finish not only enhances the natural beauty of the wood but also protects it from moisture and bacteria. Let’s dive into how you can effectively apply the finish to your cutting board.
Oil Vs. Wax
Choosing between oil and wax can be a bit of a dilemma. Both have their advantages. Oils, like mineral oil, penetrate deep into the wood, providing long-lasting protection. Wax, on the other hand, sits on the surface, offering a robust barrier against moisture.
Consider your usage. If you frequently wash your cutting board, oil might be better as it soaks in and lasts longer. Wax is great for a beautiful, glossy finish but might need more frequent reapplication.
Step-by-step Application
1. Preparation: Start by sanding your cutting board with fine-grit sandpaper. This smooths out the surface and opens up the wood pores, allowing for better absorption of the finish.
2. Cleaning: Wipe the board with a damp cloth to remove any dust. Ensure the board is completely dry before you proceed.
3. Applying Oil: If you choose oil, pour a small amount onto a clean cloth. Rub it into the wood in a circular motion. Cover the entire surface, including the sides and back.
4. Let it Absorb: Allow the oil to soak into the wood for at least 20 minutes. You can even leave it overnight for better absorption.
5. Wipe Off Excess: After the oil has been absorbed, use a clean cloth to wipe off any excess. This prevents the board from feeling greasy.
6. Applying Wax: If you opt for wax, use a clean cloth to apply a thin layer to the board. Rub it in well, focusing on small sections at a time.
7. Buffing: Once the wax is applied, let it sit for a few minutes, then buff the board with a clean cloth. This will give it a nice shine and smooth finish.
How often do you maintain your cutting board? Regular maintenance can significantly extend its life. Monthly reapplication keeps it in top condition.
By following these steps, you ensure that your wood cutting board not only looks great but also stays functional for years. Try it out, and notice the difference in your kitchen routine.
Credit: www.gearheartindustry.com
Curing Time
The curing time is crucial for ensuring your wood cutting board is ready for use. It allows the finishing oil to fully penetrate and protect the wood. Proper curing ensures durability and longevity.
Optimal Drying Period
Allow the cutting board to dry for at least 24 hours. This period lets the oil soak into the wood fibers. A longer drying period, up to 48 hours, can provide better results. Ensure the board is in a dry, dust-free area during this time.
Signs Of Proper Curing
After the drying period, check the board’s surface. It should feel dry and not sticky. The wood should appear richer in color. Run a clean cloth over the board; it should come away clean. If these signs are present, the curing is complete.
Maintaining Your Board
Properly finishing a wood cutting board involves sanding the surface, applying food-safe mineral oil, and sealing with beeswax. This process ensures durability and a smooth surface for safe food preparation. Regular maintenance keeps the board looking great and extends its lifespan.
To keep your wood cutting board in top-notch condition, regular maintenance is key. This ensures not only its longevity but also its performance. Let’s dive into some practical steps you can take.
Regular Oil Treatments
Regularly oiling your wood cutting board is essential. It prevents the wood from drying out and cracking. Use a food-safe mineral oil or a dedicated cutting board oil.
Apply the oil generously across the entire surface. Let it soak in for a few hours or overnight. Wipe off any excess oil with a clean cloth.
This process should be done monthly or more often if the board is heavily used. A well-oiled board is less likely to absorb food juices and odors. It also makes the surface more resistant to stains.
Cleaning And Sanitizing
Cleaning your board properly after each use is crucial. Use warm water and mild dish soap. Avoid soaking the board in water as it can warp the wood.
Scrub the surface gently with a sponge or brush. Rinse thoroughly and dry immediately with a clean towel. Stand the board upright to ensure complete air drying.
Sanitizing is also important, especially after cutting raw meat. Mix a solution of one part vinegar to four parts water. Spray this on the board and let it sit for a few minutes before rinsing.
An occasional sprinkle of coarse salt can help remove any stubborn stains or odors. Scrub with a lemon half for a fresh scent. Your board will thank you for the extra care.
Have you tried these methods before? How do you maintain your cutting board? Share your tips in the comments!
Repairing Damage
Repairing damage on a wood cutting board involves sanding the surface. Apply food-safe mineral oil to protect and finish the board. This process restores the board’s smoothness and maintains its durability for future use.
Repairing damage on a wood cutting board is essential to keep it looking good and functioning well. Small cracks, stains, and general wear can make a board less effective and less attractive. Here are some practical steps to repair your wood cutting board and keep it in top shape.
Fixing Cracks
Cracks in your cutting board can harbor bacteria and make the board unstable. Start by cleaning the board thoroughly.
Use a food-safe wood glue to fill the crack. Apply the glue directly into the crack and use a clamp to hold the wood together until it dries.
Once dry, sand the area lightly to ensure a smooth finish. Finish by applying mineral oil to condition the wood.
Removing Stains
Stains can be unsightly and can also affect the taste of your food. Start with a mixture of baking soda and water to create a paste.
Rub the paste into the stain with a cloth. Let it sit for a few minutes before rinsing with warm water.
For tougher stains, consider using a lemon. Cut the lemon in half and rub it directly onto the stain. The acidity helps break down the stain, leaving your board looking fresh.
Regular maintenance can prevent future damage. What steps will you take to keep your board in top shape?
Safety Tips
Ensure a smooth finish on your wood cutting board by sanding evenly. Apply food-safe mineral oil to protect the wood. Let it dry completely before use.

Wood cutting boards are a staple in many kitchens. They provide a sturdy surface for chopping vegetables, slicing meat, and preparing meals. Finishing your wood cutting board properly is crucial not only for maintaining its longevity but also for ensuring it remains safe to use. Below are some essential safety tips you should follow to make your wood cutting board both beautiful and practical.
Food-safe Finishes
When choosing a finish for your cutting board, prioritize food-safe options. Use finishes that are specifically labeled as food-safe.
Mineral oil is a popular choice because it is non-toxic and easy to apply. It penetrates the wood deeply, keeping it moisturized and preventing cracks.
Another great option is beeswax. It creates a protective barrier on the surface of the board, which helps repel water and resist stains. Beeswax is also natural and safe for contact with food.
Avoiding Toxic Materials
While finishing your cutting board, it’s vital to avoid toxic materials. Many conventional wood finishes contain harmful chemicals that can leach into food.
Stay away from varnishes, polyurethane, and other synthetic finishes. These substances can pose health risks if they come into contact with food.
Instead, stick to natural finishes like walnut oil or coconut oil. These oils are not only safe but also enhance the wood’s natural beauty. They are easy to apply and provide a durable finish.
Now, imagine you are preparing a meal for your loved ones. You wouldn’t want any harmful chemicals to contaminate the food. Always ensure the materials you use are safe and non-toxic.
Have you ever thought about the impact of your choices on your health and the environment? Using natural finishes not only protects your food but also reduces your carbon footprint.
Taking a few extra minutes to choose the right materials can make a significant difference. Your cutting board will be safer, and your meals healthier.
In conclusion, finishing your wood cutting board with food-safe finishes and avoiding toxic materials is essential. It ensures that your board is not only functional but also safe for food preparation. So, the next time you work on your cutting board, remember these safety tips and make informed choices.
Credit: www.youtube.com
Expert Advice
Finishing a wood cutting board can be tricky. Experts suggest some key steps to ensure durability. Follow their advice to avoid common pitfalls. Your cutting board will last longer and look better.
Common Mistakes
Many people rush the sanding process. Skipping fine grit sandpaper leaves rough spots. These areas can trap food particles. This can lead to bacteria growth. Another mistake is using the wrong oil. Non-drying oils can turn rancid. This spoils the board and affects food taste. Over-applying oil is also a common error. Too much oil can make the board sticky. This attracts dirt and grime.
Pro Tips For Longevity
Use food-grade mineral oil for your cutting board. It’s safe and won’t spoil. Apply a thin layer and let it soak in. Wipe off excess oil with a clean cloth. Repeat this process monthly to maintain the board. Sand the board with fine grit sandpaper regularly. This keeps the surface smooth and clean. Avoid submerging the board in water. Instead, wipe it down with a damp cloth. Dry it immediately to prevent warping.
Credit: www.gearheartindustry.com
Frequently Asked Questions
What Is The Best Finish For A Wooden Cutting Board?
The best finish for a wooden cutting board is food-grade mineral oil. It protects the wood and prevents cracking.
How Do You Seal A Wooden Cutting Board?
Apply food-grade mineral oil or beeswax. Clean the board, dry it thoroughly, and apply oil evenly. Let it absorb overnight, then wipe off excess. Repeat monthly.
Is It Better To Oil Or Wax A Cutting Board?
Oil is better for cutting boards. It penetrates wood, providing deeper protection and preventing drying and cracking.
How Do You Treat Raw Wood Cutting Boards?
To treat raw wood cutting boards, clean them with mild soap and warm water. Dry thoroughly. Apply food-safe mineral oil, rubbing in the direction of the grain. Let it soak overnight and wipe off excess. Repeat monthly to maintain the board.
Conclusion
Finishing a wood cutting board is a rewarding task. It extends the board’s life and makes it look great. Clean the board thoroughly. Sand it until smooth. Apply food-safe oil generously. Let it soak. Buff it for a shiny finish.
Follow these steps regularly. Your cutting board will stay beautiful and functional. Enjoy using your well-maintained board in the kitchen. Happy cooking!