
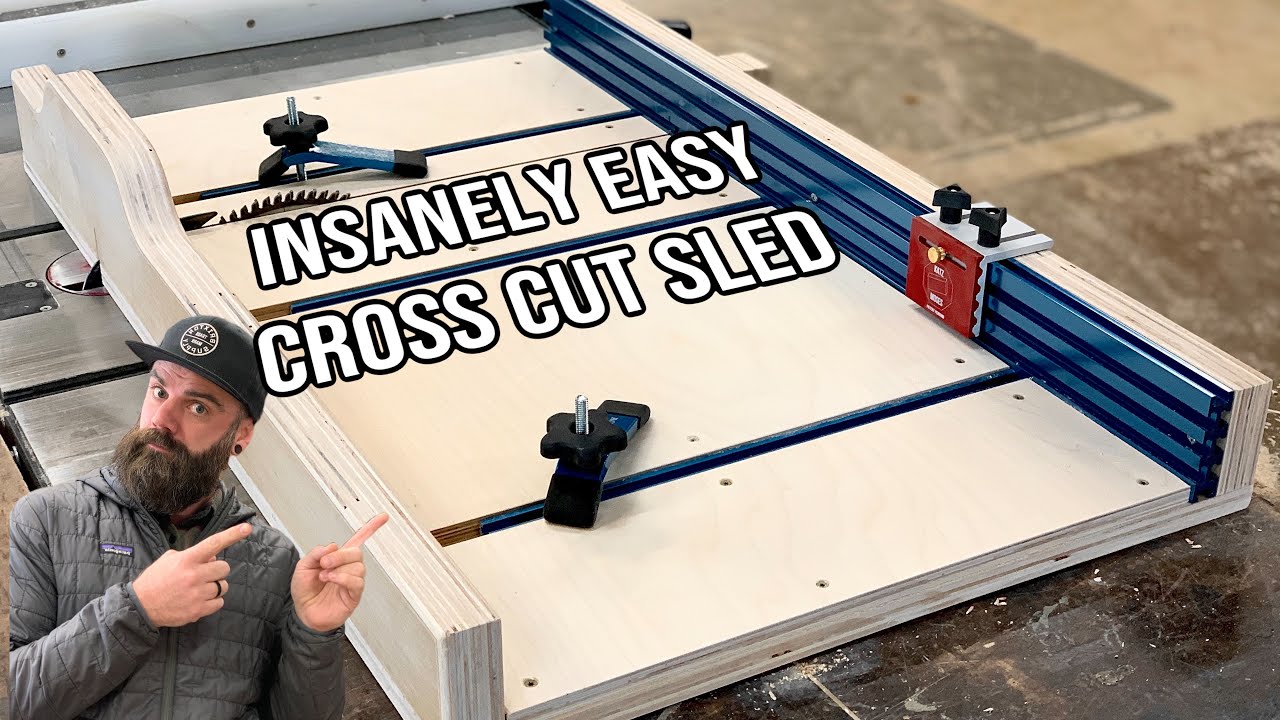
A crosscut sled is a must-have for precise table saw cuts. It enhances accuracy and safety.
Creating your own crosscut sled is simpler than it sounds. With the right tools and materials, you can make a sturdy sled at home. This guide will walk you through the process step by step. Whether you’re a beginner or a seasoned woodworker, building a crosscut sled can improve your projects.
Learn how to make one with ease and start making cleaner, more accurate cuts today.
Tools And Materials
Gather a saw, plywood, screws, and glue for your crosscut sled project. Essential tools include a drill, clamps, and measuring tape.
When you decide to make a crosscut sled for your homemade table saw, it’s crucial to gather the right tools and materials. This section will guide you through the essential tools and required materials to ensure a smooth and successful build. Let’s dive into what you’ll need.
Essential Tools
To get started, gather these essential tools:
- Table Saw: The core of the project, make sure it’s well-calibrated for accurate cuts.
- Miter Gauge: For precise angle measurements and cuts.
- Clamps: Keep your workpieces steady while cutting and assembling.
- Square: Ensures your sled and cuts are perfectly aligned.
- Measuring Tape: Accurate measurements are key to a successful sled.
- Drill and Drill Bits: For creating pilot holes and securing screws.
- Screwdriver: Essential for tightening and securing screws.
- Sandpaper: Smooth out any rough edges for a finished look.
Having these tools on hand will make the process more efficient and enjoyable. You might already have some of these tools in your workshop.
Required Materials
Next, let’s look at the materials you’ll need:
- Plywood: A sturdy piece for the base of your sled, typically 3/4 inch thick.
- Hardwood Runners: These fit into the miter slots of your table saw. Oak or maple are good choices.
- Wood Screws: Secure the parts of your sled together. Ensure they are the right length to avoid poking through the sled base.
- Glue: Provides additional strength alongside screws. Wood glue is a reliable option.
- Fence Material: Can be made from hardwood or MDF. It should be straight and sturdy.
Think about the quality of materials you choose. Higher quality materials can make a big difference in the sled’s durability and performance.
When I first built my crosscut sled, I underestimated the importance of quality runners. They need to fit snugly in the miter slots without any play. This ensures accurate and repeatable cuts every time.
Are you ready to start gathering your tools and materials? Taking the time to prepare properly will set you up for success and make the project more enjoyable. What tools are you missing from your collection?
Credit: www.youtube.com
Preparing The Table Saw
Set up your table saw properly before making a crosscut sled. Ensure the blade is sharp and aligned. Securely attach a sturdy base to guide the cuts accurately.
Before you start making a crosscut sled, it’s crucial to prepare your table saw. Proper preparation ensures accuracy and safety. Let’s dive into the essential steps.
Safety Precautions
First, ensure your workspace is clean and free of clutter. A tidy space minimizes accidents.
Always wear safety goggles and hearing protection. You never know when debris might fly.
Disconnect the power source before any adjustments. This step is non-negotiable for your safety.
Setting Up The Table Saw
Check the alignment of your saw blade. A misaligned blade can ruin your cuts and be dangerous.
Secure the blade at the correct height. It should be just above the material you’re cutting.
Test the saw with a scrap piece of wood. This helps you identify any issues before starting your project.
Taking these steps seriously will make your crosscut sled project smoother and safer. How do you ensure your tools are ready for a project? Share your tips in the comments!
Building The Base
Creating a crosscut sled for your homemade table saw enhances safety and precision. The first step in this process involves building the base. A strong, flat base is essential for accurate cuts. Let’s dive into how you can build the perfect base for your crosscut sled.
Choosing The Right Material
Selecting the right material for the base is crucial. Plywood and MDF are popular choices. They are sturdy and resistant to warping. Ensure the material is thick enough to support your workpieces.
Plywood is durable and less prone to splitting. MDF provides a smoother surface, ideal for accurate cuts. Consider your needs and choose accordingly.
Cutting The Base
Once you have your material, it’s time to cut the base. Measure and mark the dimensions you need. Use a straight edge to guide your cuts.
Ensure the base is large enough to support your largest workpieces. Cut carefully to maintain straight edges. This will ensure the sled moves smoothly on the table saw.
After cutting, check the base for any rough edges. Sand them down for a smooth finish. This step ensures the sled operates without any snags.
Credit: www.sawstop.com
Constructing The Fence
Learn how to make a crosscut sled for your homemade table saw. This tool ensures precise cuts and enhances safety. Follow these steps to build your own sled easily.
Creating the fence for your homemade table saw crosscut sled is a crucial step. The fence ensures your cuts are straight and precise. Let’s dive into the details of selecting and attaching the fence.
Selecting Fence Material
Choosing the right material for your fence is essential. You want something sturdy yet easy to work with. Hardwood or high-quality plywood are excellent choices.
Hardwood is durable and less likely to warp. It provides a reliable surface for guiding your cuts. Plywood is also a great option due to its stability and ease of handling.
Think about the dimensions of your fence. A good rule of thumb is to make it tall enough to support your workpiece but not too bulky. Aim for a height of around 3-4 inches.
Attaching The Fence
Attaching the fence to your sled is a straightforward process. Start by aligning it perfectly perpendicular to the sled base. Precision here is key for accurate cuts.
Use screws to secure the fence in place. Pre-drill holes to avoid splitting the wood. Consider using clamps to hold the fence steady while you drill.
Check the alignment once the fence is attached. Make sure it’s square and firm. A misaligned fence can result in inaccurate cuts, defeating the purpose of your sled.
Have you ever struggled with making straight cuts on your table saw? A well-constructed fence could be the solution you’re looking for. Try these tips and see the difference in your woodworking projects!
What’s your experience with homemade jigs and sleds? Share your thoughts in the comments below.
Adding Runners
Add runners to your crosscut sled for smooth sliding and accurate cuts. Ensure they fit snugly in the miter slots. Secure them with screws for stability.
Adding runners to your crosscut sled is an essential step in ensuring precise and safe cuts on your homemade table saw. Runners help guide the sled smoothly along the miter slots, keeping it aligned and stable. Let’s dive into the materials you’ll need and the installation process.
Materials For Runners
To make effective runners, you’ll need materials that are durable and slide smoothly. Hardwood like oak or maple is a popular choice because of its strength and wear resistance. You can also use high-density polyethylene (HDPE), which is slick and reduces friction.
Make sure the runners are slightly thinner than the depth of the miter slots, so they fit snugly without binding. This precision is crucial for a smooth operation.
Installing The Runners
Start by cutting the runners to fit the length of the miter slots. They should be long enough to provide stability but not so long that they extend beyond the sled base.
Next, place the runners into the miter slots and position your sled base on top. Align everything carefully, ensuring the sled base is square to the saw blade. You can use a framing square for accuracy.
Once aligned, temporarily secure the runners to the sled base using double-sided tape. This allows you to test the movement and make adjustments if necessary.
After verifying the fit, secure the runners permanently with screws. Pre-drill holes to avoid splitting the wood. Counter-sink the screws so they sit flush with the runners’ surface, preventing any interference with the miter slots.
Have you considered adding wax to the runners for an even smoother glide? It’s a simple step that can significantly improve the sled’s performance. A few strokes of paste wax can make a big difference.
Building a crosscut sled can be a rewarding project. It’s about precision, patience, and a bit of creativity. How do you ensure your woodworking projects stay accurate and safe? Share your tips and experiences in the comments!

Credit: www.youtube.com
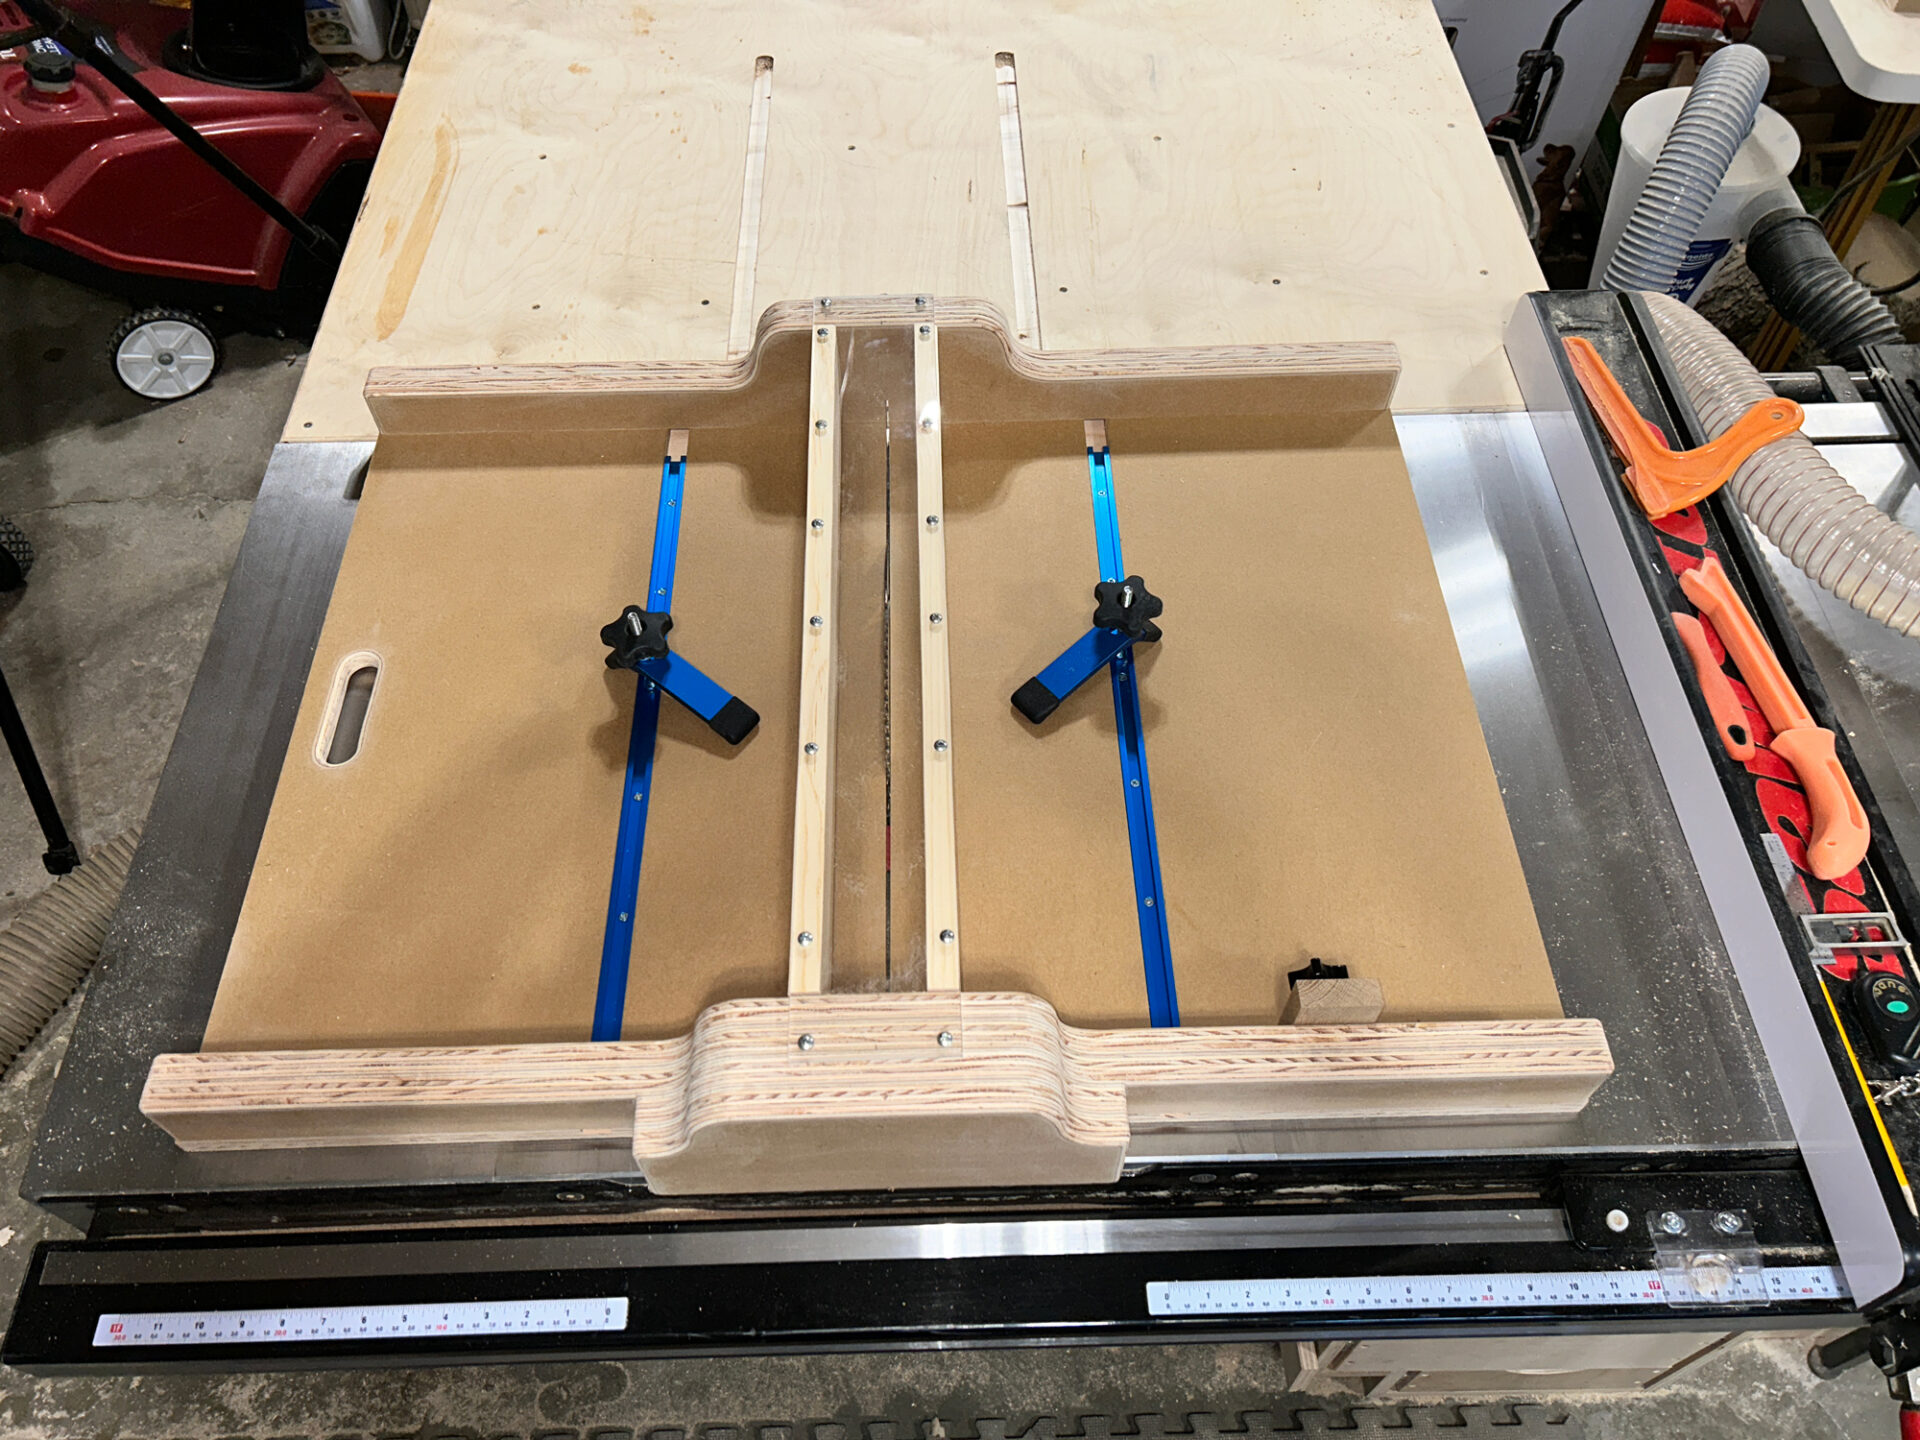
Assembly And Alignment
Ensure precise cuts for your table saw by properly assembling and aligning the crosscut sled. Follow clear steps to enhance accuracy and safety.
Assembling a crosscut sled for your homemade table saw can be a game-changer. It enhances precision and safety. The key to a successful build lies in the assembly and alignment process. This step ensures that your sled runs smoothly and cuts accurately.
Assembling The Components
Start by gathering all the components: the base, runners, front and rear fences, and hardware.
Lay the base on a flat surface. Attach the runners to the bottom. Make sure they fit into the miter slots of your table saw.
Secure the runners with screws. Test the fit by sliding the base back and forth.
Next, attach the front and rear fences. The front fence should be perpendicular to the base. Use a square to check this.
Secure the fences with screws. Ensure they are firmly attached.
Ensuring Proper Alignment
Alignment is crucial for precise cuts. Begin by aligning the sled with the saw blade.
Use a square to check the alignment of the front fence with the blade. Adjust if necessary.
Once aligned, make a test cut. Check the cut for accuracy.
If the cut is off, adjust the fence. Make small adjustments and retest until the cut is perfect.
Consider marking the correct positions for future reference. This can save time in future adjustments.
Have you ever struggled with misalignment? Take the time now to ensure everything is perfect. It will save you headaches later.
Remember, precision in assembly and alignment leads to better, safer cuts. Take your time and enjoy the process.
Testing And Adjustments
Testing and adjustments are crucial steps in the process of making a crosscut sled for your homemade table saw. These steps ensure your sled works accurately and safely.
Initial Test Cuts
Begin by making a few test cuts. Use scrap wood for these tests. Cut several pieces to check the sled’s alignment. Observe if the cuts are straight and square. This initial testing helps identify any misalignments.
Making Necessary Adjustments
If the test cuts are not accurate, adjustments are needed. Check the sled’s fence and runners. Ensure they are straight and firmly attached. Adjust the fence if the cuts are not square. Slightly tweak the runners if the sled does not slide smoothly.
Tips And Tricks
Creating a crosscut sled for your homemade table saw can seem daunting. With the right tips and tricks, you can build a sled that improves your work. Read on to learn how to maintain your sled and enhance its accuracy.
Maintaining The Crosscut Sled
Regular maintenance keeps your crosscut sled in top shape. Clean the sled after each use. Dust and debris can affect its performance. Lubricate the runners to ensure smooth movement. Check for any loose screws or parts. Tighten them as needed.
Enhancing Accuracy
Accuracy is key for any crosscut sled. Use a square to align the fence perfectly. This ensures precise cuts. Mark a zero-clearance line on the sled. This helps you see where the blade will cut. Add a stop block for repeatable cuts. It makes your work consistent.
Frequently Asked Questions
What Is The Best Material To Make A Crosscut Sled?
The best material for a crosscut sled is high-quality plywood or medium-density fiberboard (MDF). These materials ensure stability and durability.
What Should You Never Use When Making A Cross Cut On The Table Saw?
Never use the rip fence when making a cross cut on the table saw. It can cause kickback and dangerous situations. Use a miter gauge or crosscut sled instead.
What Material Is Used For Crosscut Sled Runners?
Crosscut sled runners are often made from materials like hardwood, aluminum, or UHMW (Ultra-High Molecular Weight) plastic. These materials ensure durability and smooth sliding.
How Accurate Does A Crosscut Sled Need To Be?
A crosscut sled needs to be very accurate for precise cuts. Aim for less than 0. 001-inch error. Accurate sleds ensure clean, square cuts for your projects.
Conclusion
Creating a crosscut sled for your table saw enhances precision and safety. It’s a straightforward project with basic tools and materials. Building it yourself saves money and customizes it to your needs. Now, you can make cleaner, more accurate cuts with confidence.
This DIY sled is a valuable addition to any woodworking setup. Enjoy the satisfaction of using a tool you crafted yourself. Happy woodworking!