
To write into wood, first prepare the surface by sanding it smooth. Then, choose a method like wood burning (pyrography) for a rustic look, carving with a Dremel for depth, or using paint pens for color. Transfer your design using carbon paper, carefully execute your chosen method, and seal the finished piece with a clear coat to protect it.
Have you ever wanted to add a personal touch to a piece of wood? Maybe a custom sign, a heartfelt gift, or just a simple label for your garden. It sounds simple, but a shaky hand or a bleeding marker can turn a great idea into a frustrating mess. Many people try once and give up, thinking you need to be a professional artist to get it right. But what if I told you there are simple, foolproof ways to get clean, beautiful lettering on any wood project? You can do this. In this guide, I’ll show you the essential methods, from easy to advanced, so you can start creating with confidence.
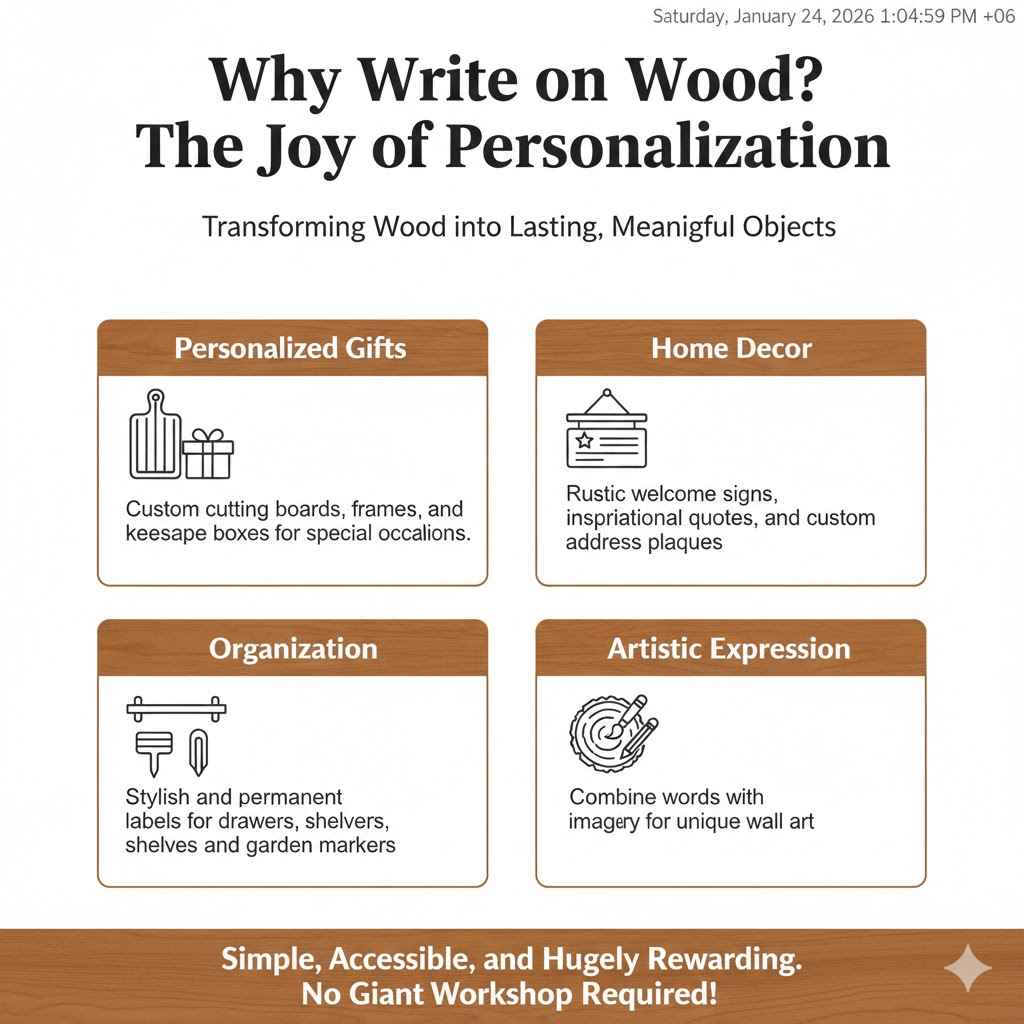
Why Write on Wood? The Joy of Personalization
Writing on wood is more than just putting letters on a surface; it’s about making something unique and lasting. It transforms a simple piece of pine or oak into a meaningful object. Think about the possibilities:
- Personalized Gifts: Create custom cutting boards, photo frames, or keepsake boxes for weddings, birthdays, and holidays.
- Home Decor: Design rustic welcome signs, inspirational quotes for your wall, or custom address plaques.
- Organization: Label drawers, shelves, or garden markers in a stylish and permanent way.
- Artistic Expression: Turn a plain wood slice into a piece of art by combining words with imagery.
Each method we’ll explore offers a different feel, from the warm, rustic charm of wood burning to the crisp, clean lines of carving. The best part? You don’t need a giant workshop or years of experience to get started.
Step 1: Choose the Right Wood for Your Project
Before you pick up a tool, the wood itself is your first big decision. The type of wood you choose will dramatically affect how easy it is to write on and what the final result looks like. The main difference comes down to softwoods versus hardwoods.
Softwoods, like pine or cedar, are generally lighter, more affordable, and easier to carve or burn into. Their open grain can sometimes cause paint or ink to bleed, but they are fantastic for beginners practicing their technique.
Hardwoods, like oak or maple, are denser, more durable, and often have a more beautiful grain. They require more effort to carve or burn but provide incredibly sharp, clean lines and a professional finish. They are also less likely to dent or scratch.
For more detailed information on different wood species, the U.S. Forest Service provides excellent resources for identifying and understanding wood types.
Common Woods for Writing and Lettering
Here’s a quick table to help you decide which wood is best for your project.
| Wood Type | Category | Best For | Notes for Beginners |
|---|---|---|---|
| Pine | Softwood | Wood Burning, Staining | Very affordable and easy to find. Can have knots and uneven grain, so choose your piece carefully. Great for practice. |
| Basswood | Softwood | Carving, Wood Burning | A favorite among carvers. It has a very fine, even grain with almost no knots, making it perfect for detailed lettering. |
| Poplar | Softwood (often called a utility hardwood) | Painting, Dremel Carving | Smooth and easy to work with. It takes paint exceptionally well and is a good step up from pine. |
| Maple | Hardwood | Painting, Dremel Engraving | Very hard and smooth. Provides incredibly crisp lines for paint pens and shallow engraving. Can be difficult to burn evenly. |
| Oak | Hardwood | Dremel Carving, Staining | Strong and beautiful, but its deep grain can make fine lettering a challenge. Best for larger, bold letters that work with the grain. |
Step 2: Prepare the Wood Surface Like a Pro
Proper preparation is the secret to a professional-looking result. Skipping this step is like trying to paint on a dusty, bumpy wall—the final product will show it. A smooth, clean surface ensures your lines are crisp, your paint doesn’t bleed, and your finish is flawless.
- Start with Sanding: Even if the wood feels smooth, sand it. Use medium-grit sandpaper (around 120-grit) to remove any blemishes or mill marks. Work your way up to a fine-grit sandpaper (like 220-grit) for a silky-smooth finish. Always sand in the direction of the wood grain to avoid creating visible scratches.
- Clean the Surface: After sanding, the wood will be covered in fine dust. This dust can interfere with your tools and clog the wood grain. Wipe the surface thoroughly with a tack cloth or a slightly damp microfiber cloth. Let it dry completely before you proceed.
Method 1: Wood Burning (Pyrography) for a Rustic Touch
Wood burning, also called pyrography, is the art of decorating wood with burn marks. It’s a classic technique that creates a warm, rustic, and permanent design. It might look intimidating, but modern wood-burning kits make it very accessible for beginners.
Tools You’ll Need:
- Pyrography Pen: A beginner-friendly kit usually comes with a pen and several interchangeable tips. Solid-point burners are great for starting out.
- Interchangeable Tips: Different tips create different effects. A universal tip is great for lines, while a shading tip is used for filling in areas.
- Safety Gear: Pliers for changing hot tips, a ceramic or metal stand for the hot pen, and good ventilation are essential. Never work without an open window or a small fan to blow smoke away from your face.
- Practice Wood: Always have a scrap piece of the same wood you’re using for your project to test the heat and your technique.
How to Write on Wood with a Pyrography Pen:
- Transfer Your Design: First, get your letters onto the wood. The easiest way is with graphite or carbon paper. Simply place the paper on the wood (dark side down), lay your printed design on top, and trace the letters with a pencil. This leaves a perfect guide to follow.
- Heat Up the Pen: Plug in your pyrography pen and let it heat up for about 5 minutes. Place it in its safety stand whenever you aren’t holding it.
- Practice First: Use your scrap wood to get a feel for the pen. Test different tips and pressures. The key is to let the heat do the work—don’t press down hard. A slow, steady hand movement creates a dark, even line. A faster movement creates a lighter line.
- Burn Your Outline: Using a fine point tip, gently trace over the graphite lines of your design. Keep your hand moving at a consistent speed. Think of it like drawing with a very hot pen. It’s better to make several light passes than one heavy, shaky one.
- Fill and Shade (Optional): If your design has thicker letters, switch to a shading tip to fill them in. Use the flat side of the tip to create smooth, even color.
Method 2: Carving and Engraving with a Rotary Tool
If you want letters with physical depth and texture, carving is the way to go. While hand carving with chisels is a beautiful craft, a rotary tool like a Dremel is a much faster and more beginner-friendly way to engrave letters into wood.
Tools You’ll Need:
- Rotary Tool: A Dremel or a similar brand rotary tool is perfect. A model with variable speed control is highly recommended.
- Engraving/Carving Bits: There are many types. For lettering, a small ball-nosed bit (like a 106 or 107 engraving bit) or a V-groove bit works well for outlines.
- Safety Gear: Safety glasses are non-negotiable to protect your eyes from flying dust. A dust mask is also critical to avoid inhaling fine wood particles.
How to Write on Wood with a Dremel:
- Secure Your Wood: Clamp your piece of wood firmly to your workbench. A rotary tool can vibrate, and you don’t want your project moving around while you work.
- Transfer Your Design: Just like with wood burning, use carbon paper to trace your letters onto the prepared wood surface.
- Practice on Scrap: Get a feel for how the tool handles. Set it to a medium speed. Hold the tool like a thick pencil and let the bit do the cutting. Don’t force it. Practice making straight lines and curves on a scrap piece.
- Carve the Outline: Using a small engraving bit, carefully trace over your design. Your goal is to make a shallow, consistent first pass. This creates a guide groove that makes subsequent passes easier and cleaner.
- Deepen and Widen the Letters: Go over the lines again to achieve your desired depth. If you want thicker letters, use a slightly larger bit or carefully move the tool back and forth to widen the groove.
- Clean Up: Once you’re done carving, use a small brush or compressed air to clean out the dust from the letters. You can lightly sand the edges of the letters with a folded piece of fine-grit sandpaper to smooth any fuzz.
Method 3: Using Paint Pens and Markers for Color and Simplicity
This is by far the easiest, cleanest, and most affordable way to write on wood. It’s perfect for projects that need color and precision without the learning curve of burning or carving. The secret is choosing the right kind of marker and preparing the surface properly.
Tools You’ll Need:
- Paint Pens or Permanent Markers: Oil-based paint pens offer the best permanence and opacity on wood. High-quality permanent markers can also work, but they are more prone to bleeding on softwoods.
- Stencils (Optional): For perfectly uniform letters, stencils are a beginner’s best friend.
- Clear Sealer: A spray-on clear coat (like polyurethane or acrylic sealer) is crucial to protect the writing from smudging, fading, or wearing off.
How to Write on Wood with Paint Pens:
- Prepare the Surface: Sand and clean your wood as described earlier. For markers, a super-smooth surface is key to preventing bleeding. You can even apply a thin coat of clear sealer before you write. This pre-seals the wood grain and creates a non-porous surface for the marker to sit on top of.
- Transfer or Stencil Your Design: Use the carbon paper method for a custom design, or simply place your stencils and secure them with painter’s tape.
- Apply the Paint: Shake your paint pen well to mix the paint. Press the tip down on a piece of scrap paper to get the ink flowing. Use steady, even strokes to fill in your letters. It’s better to apply two thin coats than one thick, goopy one.
- Let It Dry Completely: Be patient! Allow the paint to dry fully according to the manufacturer’s instructions. This can take anywhere from an hour to a full day, depending on the type of pen.
- Seal Your Work: Once dry, take your project to a well-ventilated area and apply a thin, even coat of clear spray sealer. Hold the can about 10-12 inches away and use sweeping motions. Let it dry and apply a second coat for added durability.
Method 4: Chemical Wood Burning for a “Magic” Effect
This is a newer, fascinating technique that mimics the look of wood burning with much less skill required. You use a special chemical marker that, when heated, causes the wood fibers to darken. It’s a fun and surprisingly easy way to get a pyrography look.
Tools You’ll Need:
- Scorch Marker (or similar chemical wood-burning pen): These pens contain a chemical that reacts to heat.
- Heat Gun: A craft heat gun or an industrial heat gun with a high setting (at least 1000°F or 500°C) is necessary. A hairdryer will not get hot enough.
- Stencils or Vinyl Decals: This method works best with stencils, as the liquid can bleed if applied freehand.
How to Use a Scorch Marker:
- Sand and Clean: As always, start with a perfectly smooth, clean wood surface. This method works especially well on light-colored woods like pine, poplar, and basswood.
- Apply Your Stencil: Place your stencil firmly on the wood. If you’re using a vinyl decal cut with a machine like a Cricut, apply it and make sure the edges are sealed to prevent the liquid from seeping underneath.
- Apply the Chemical: Saturate the tip of the scorch marker and fill in the stencil. You don’t need to flood it, but make sure the wood is evenly wet within the design area.
- Remove the Stencil and Let It Absorb: Carefully remove the stencil and let the chemical soak into the wood for a few minutes.
- Apply Heat: Turn on your heat gun to a high setting. Hold it about 6-8 inches away from the design and move it continuously. After a few seconds, you’ll see the magic happen—the areas where you applied the chemical will start to darken and “burn.” Keep the heat moving to get an even color.
- Seal the Project: Once it cools, you can seal the project just like any other piece of wood.
Finishing and Sealing Your Masterpiece
No matter which method you choose, sealing your project is the final step that protects your hard work. A good finish prevents moisture damage, protects against scratches, and stops paint or ink from fading over time.
| Finish Type | Best For | Durability | Application |
|---|---|---|---|
| Spray Polyurethane | Outdoor signs, high-use items (coasters, trays) | High | Easy to apply in thin, even coats. Best done outdoors. |
| Wipe-On Polyurethane | Indoor decor, furniture | High | Applied with a rag. Gives more control and a hand-rubbed look. |
| Shellac | Indoor decorative items | Medium | Natural, non-toxic finish that dries very quickly. Not water-resistant. |
| Paste Wax | Items where you want to feel the wood grain (keepsake boxes) | Low | Easy to apply and buffs to a soft sheen. Offers minimal protection. |
Safety First: A Quick Workshop Reminder
Working with tools, heat, and chemicals requires a little common sense. Your safety is more important than any project.
- Protect Your Eyes and Lungs: Always wear safety glasses when carving or sanding. Wear a dust mask when creating fine dust. For detailed guidance on protective equipment, refer to the official OSHA website on PPE.
- Ensure Good Ventilation: When wood burning, using a scorch marker, or applying spray finishes, work in a well-ventilated area. Open windows or use a fan to keep fumes away from your face.
- Respect Heat: Pyrography pens and heat guns get extremely hot. Always place them in their safety stands when not in use, never leave them unattended, and keep them away from flammable materials.

Frequently Asked Questions (FAQ)
What is the easiest way to write on wood for a total beginner?
The easiest method is using oil-based paint pens with stencils. It requires no special skills, is low-cost, and gives you clean, consistent results right away. Sealing it afterward with a clear spray makes it durable.
Can I use a regular Sharpie to write on wood?
You can, but it’s not ideal. Sharpie ink tends to bleed into the wood grain, especially on softwoods, creating fuzzy lines. For best results, pre-seal the wood with a thin coat of clear sealer first, let it dry, then use the Sharpie.
Do I really have to sand the wood first?
Yes, absolutely. Sanding creates a smooth surface that prevents your tool or pen from snagging, and it helps prevent ink and paint from bleeding. It’s the single most important step for a professional-looking finish.
How do I fix a mistake when wood burning?
Small mistakes can sometimes be fixed by sanding them away. Use a fine-grit sandpaper to gently sand the burnt area until the mark is gone. Be aware that this will create a slight indentation in the wood. For this reason, it’s always best to practice on scrap wood first.
What is the best wood for making outdoor signs?
For outdoor signs, you need a weather-resistant wood. Cedar, redwood, and cypress are excellent natural choices. If you use a less-resistant wood like pine, make sure to seal it with several coats of a high-quality exterior polyurethane to protect it from the elements.
How do I make my writing waterproof?
To make your writing waterproof, you must seal the entire piece of wood with an appropriate finish. For outdoor projects or items that will get wet, use an exterior-grade spar urethane. It contains UV blockers and is formulated to handle temperature and moisture changes.
Is the smoke from wood burning toxic?
The smoke from burning wood contains carbon monoxide and other irritants, so you should never inhale it directly. Always work in a well-ventilated space with an open window or a small fan pointed away from you to disperse the smoke.
You’re Ready to Create
Writing on wood opens up a world of creative possibilities. It’s a skill that allows you to turn ordinary objects into personal treasures. We’ve covered everything from choosing the right wood to applying the final protective coat. We explored the rustic art of wood burning, the satisfying depth of carving, the easy color of paint pens, and the surprising magic of chemical burning.
Don’t be afraid to start small. Grab a scrap piece of wood, try one of these techniques, and just have fun with it. Every project you complete will build your confidence. Now go ahead, pick a method that excites you, and start making your mark.