
Making your own hardwood floor might seem daunting at first. But with the right guidance, it’s achievable.
Hardwood floors add warmth and elegance to any home. They’re durable, beautiful, and can increase your property’s value. While hiring professionals can be costly, doing it yourself can save money and give you a sense of accomplishment. This guide will walk you through the steps to create your hardwood floor.
We will cover everything from choosing the right wood to installing it properly. By the end, you’ll feel confident in your ability to transform your space with a stunning hardwood floor. Let’s get started on this rewarding project.
Choosing The Right Wood
Choosing the right wood for your hardwood floor is crucial. It affects the look, durability, and maintenance of your floor. You need to consider various factors to make the best choice. This guide will help you understand these factors better.
Types Of Hardwood
There are many types of hardwood available. Oak is popular due to its durability and classic look. Maple offers a lighter color and smooth grain. Cherry provides a rich, dark tone. Each type of wood has its unique characteristics. You should choose based on your taste and the room’s design.
Budget Considerations
Your budget will influence your choice of wood. Some types are more expensive than others. Oak and maple are usually affordable. Exotic woods like mahogany or teak can be pricey. Consider the long-term cost as well. Some woods require more maintenance. Factor in both initial and future expenses when making your decision.
Gathering Necessary Tools
Embarking on a hardwood flooring project starts with gathering the right tools. Proper tools make your job easier and ensure a professional finish. This section will guide you through the essential and optional tools you need for a successful hardwood flooring installation.
Essential Tools
To begin, you need a few key tools. These are crucial for a smooth workflow and precision.
- Measuring Tape: Accurate measurements are vital. A measuring tape helps you measure spaces correctly.
- Chalk Line: Use this to mark straight lines on your floor. It ensures your boards align correctly.
- Flooring Nailer: This tool secures the boards to the subfloor. It provides a tight fit and professional look.
- Rubber Mallet: Tap the boards into place without damaging them. A rubber mallet is gentle yet effective.
- Power Saw: You will need to cut boards to fit your space. A power saw speeds up this process.
- Safety Gear: Always wear safety glasses and gloves. Protection is crucial while working with tools.
Optional Tools
These tools are not mandatory but can make your job easier. They add convenience and efficiency to your project.
- Knee Pads: Protect your knees from strain and discomfort. Knee pads are helpful for long hours on the floor.
- Moisture Meter: Check the moisture levels in your wood. This tool helps prevent future issues like warping.
- Laser Level: Ensure your floor is perfectly level. A laser level offers precision and ease.
- Pull Bar: Helps tighten the last row of boards. It ensures a snug fit in tight spaces.
- Spacers: Keep gaps consistent between boards. Spacers are useful for uniformity and expansion gaps.
Preparing The Subfloor
Preparing the subfloor is a crucial step in installing hardwood floors. A well-prepared subfloor ensures your new flooring looks great and lasts long. Follow these steps to get your subfloor ready for hardwood installation.
Cleaning The Subfloor
Start by removing any debris and dust. Use a broom and dustpan for large particles. Then, vacuum the entire area to pick up fine dust. Ensure there are no nails or staples sticking out. These can damage your new floor. If there are any, remove them using pliers.
Leveling The Subfloor
Check the subfloor for uneven spots. Use a level to find high and low areas. High spots need sanding. A belt sander works best for this task. Wear a mask and safety glasses while sanding. For low spots, fill them with a leveling compound. Follow the manufacturer’s instructions for mixing and applying.
Let the compound dry completely. After it’s dry, sand it down to make it even with the rest of the floor. Your subfloor should now be clean and level, ready for the next steps in your hardwood floor installation.
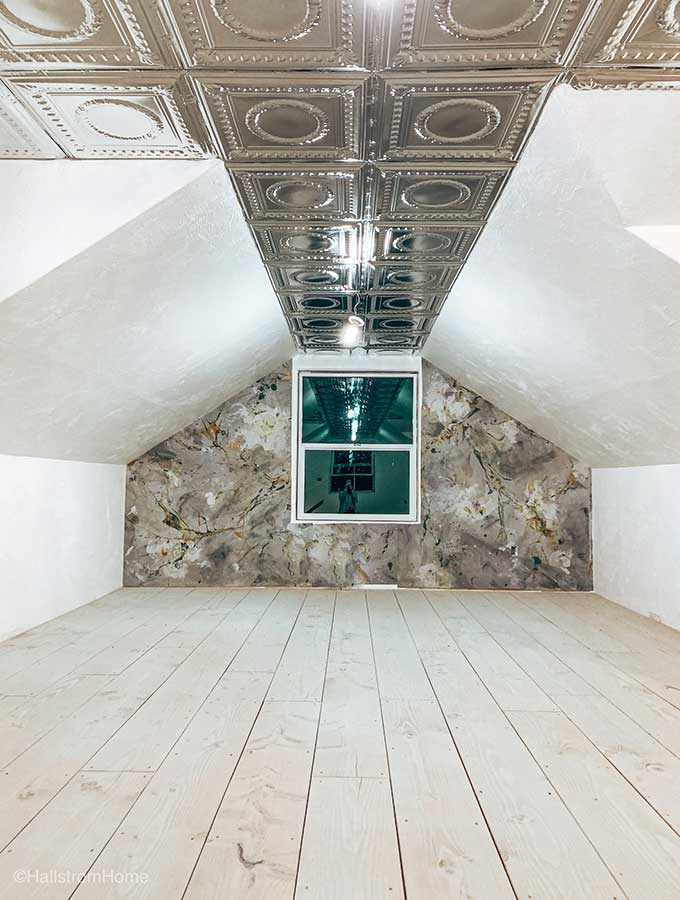
Credit: www.hallstromhome.com
Measuring And Cutting The Wood
Measuring and cutting the wood is a crucial step in making your own hardwood floor. Precise measurements ensure your floor fits perfectly. Accurate cuts create a smooth finish. Let’s break down the process into easy steps.
Measuring The Room
Start by measuring the length and width of your room. Use a tape measure for accuracy. Write down your measurements. Measure twice to confirm the numbers. This ensures you order the correct amount of wood.
Next, check for any irregularities. Look for corners and angles. Measure these areas separately. This helps you plan your cuts. Always account for extra wood. This covers any mistakes or miscalculations.
Cutting Techniques
Choose your cutting tools. A circular saw is ideal for straight cuts. A jigsaw works well for curves and corners. Make sure your blades are sharp. Dull blades can ruin the wood.
Mark your wood before cutting. Use a pencil and a straight edge. Draw clear lines where you need to cut. Double-check your measurements. This avoids costly mistakes.
Cut slowly and steadily. Rushing can lead to errors. Follow your marked lines carefully. Use clamps to hold the wood in place. This prevents movement and ensures a clean cut.
Sand the edges after cutting. This removes any roughness. It helps the pieces fit together smoothly. Now, your wood is ready for installation.
Installing The Hardwood Floor
Installing your own hardwood floor can be a rewarding project. It not only enhances the beauty of your home but also gives you a sense of accomplishment. The process might seem daunting at first, but breaking it down into steps can make it manageable and even fun.
Laying The First Row
The first row sets the foundation for your entire floor, so it’s crucial to get it right. Start by laying a moisture barrier if your subfloor is concrete. This will protect your hardwood from moisture damage over time.
Next, choose the longest wall in the room. This will serve as your guide. Lay the first plank with the tongue side facing the wall, leaving a small gap for expansion. You can use spacers to ensure this gap is consistent along the length of the wall.
Make sure the first row is straight. If it’s not, the entire floor will be off. Use a chalk line to keep your first row aligned. You might need to trim the first plank to ensure a snug fit.
Continuing The Installation
Once the first row is in place, the rest will follow more easily. Stagger the seams of each row so they don’t line up. This makes the floor stronger and more visually appealing. Cut planks as needed to fit the space.
Use a tapping block and a mallet to snug each plank tightly against its neighbor. This ensures there are no gaps. Always check your alignment as you go along. It’s easier to correct small misalignments early than to fix them later.
When you reach the last row, you might need to trim the planks lengthwise to fit. Use a table saw for precise cuts. Don’t forget to leave a small expansion gap between the last row and the wall.
How do you feel about tackling this project yourself? It might take some time and effort, but the result is a beautiful, custom hardwood floor that you installed with your own hands. Imagine the pride you’ll feel each time you walk across it!
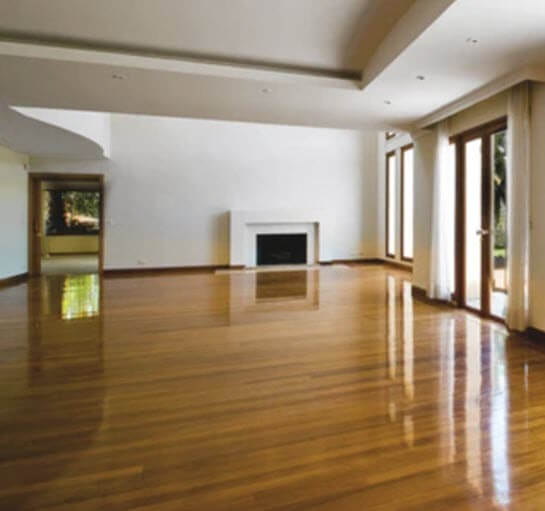
Credit: toolstoday.com
Securing The Planks
Securing the planks is a critical step in installing hardwood floors. Ensuring a tight fit and stable foundation will enhance the floor’s longevity. Properly securing the planks prevents them from shifting and creating gaps.
Nailing Methods
Nailing is a common method for securing hardwood planks. It involves driving nails through the plank edges into the subfloor. This method provides a strong hold and minimizes plank movement. There are two popular nailing techniques: blind nailing and face nailing. Blind nailing hides the nails under the next plank, giving a clean look. Face nailing is used for securing the first and last rows of planks.
Glue Options
Glue offers another method for securing hardwood planks. It provides a firm bond between the planks and the subfloor. There are different types of glue: urethane adhesive and water-based adhesive. Urethane adhesive is strong and flexible, ideal for high-traffic areas. Water-based adhesive is eco-friendly and easy to clean. Make sure to spread the glue evenly for a secure hold.
Finishing Touches
So, you’ve installed your hardwood floor and it’s looking great! But, it’s the finishing touches that will make it truly stunning. This final phase is crucial to achieving that polished, professional look. Let’s dive into the specifics with two key steps: sanding the floor and applying the finish.
Sanding The Floor
First, grab a good quality sander. You can rent one from your local hardware store. Trust me, it’s worth it.
Start sanding with coarse-grit sandpaper. This will remove any imperfections and old finish.
Next, switch to medium-grit sandpaper. This step smooths out the surface. Finally, use fine-grit sandpaper for a silky finish.
Remember to sand in the direction of the wood grain. This prevents scratches and gives a smoother result.
Don’t skip corners or edges. They need just as much attention. Use a hand sander for those tricky areas.
After sanding, vacuum thoroughly. Dust can ruin the finishing process.
Applying The Finish
Choose the right finish for your floor. Polyurethane is a popular choice for its durability.
Start by applying a thin coat with a quality brush or roller. Work in small sections.
Let the first coat dry completely. Follow the manufacturer’s instructions for drying time.
Sand the floor lightly between coats with fine-grit sandpaper. This helps the next coat adhere better.
Apply at least two more coats. This builds up the finish and ensures longevity.
Be patient and let each coat dry thoroughly before moving on to the next.
Consider adding a final coat of wax for extra shine and protection.
Think about how amazing it will feel to walk on your beautifully finished floor!
What are you waiting for? Start those finishing touches and see your hard work pay off!
Maintaining Your Hardwood Floor
Hardwood floors add beauty and value to any home. They require regular care to maintain their elegance. Proper maintenance ensures your floor stays in top condition. Here, you will learn simple ways to keep your hardwood floor looking great.
Regular Cleaning
Regular cleaning is vital. Sweep your floor daily to remove dust. Dust can scratch the surface. Use a soft broom or a microfiber mop. Avoid using a wet mop. Water can damage hardwood. Vacuum weekly with a hardwood floor attachment. This keeps dirt from building up.
Preventative Measures
Take preventative measures to protect your hardwood floor. Use rugs in high-traffic areas. Place mats at entryways. This reduces the amount of dirt brought inside. Felt pads under furniture legs prevent scratches. Trim your pet’s nails to avoid damage. Avoid wearing high heels on hardwood floors. They can cause dents.
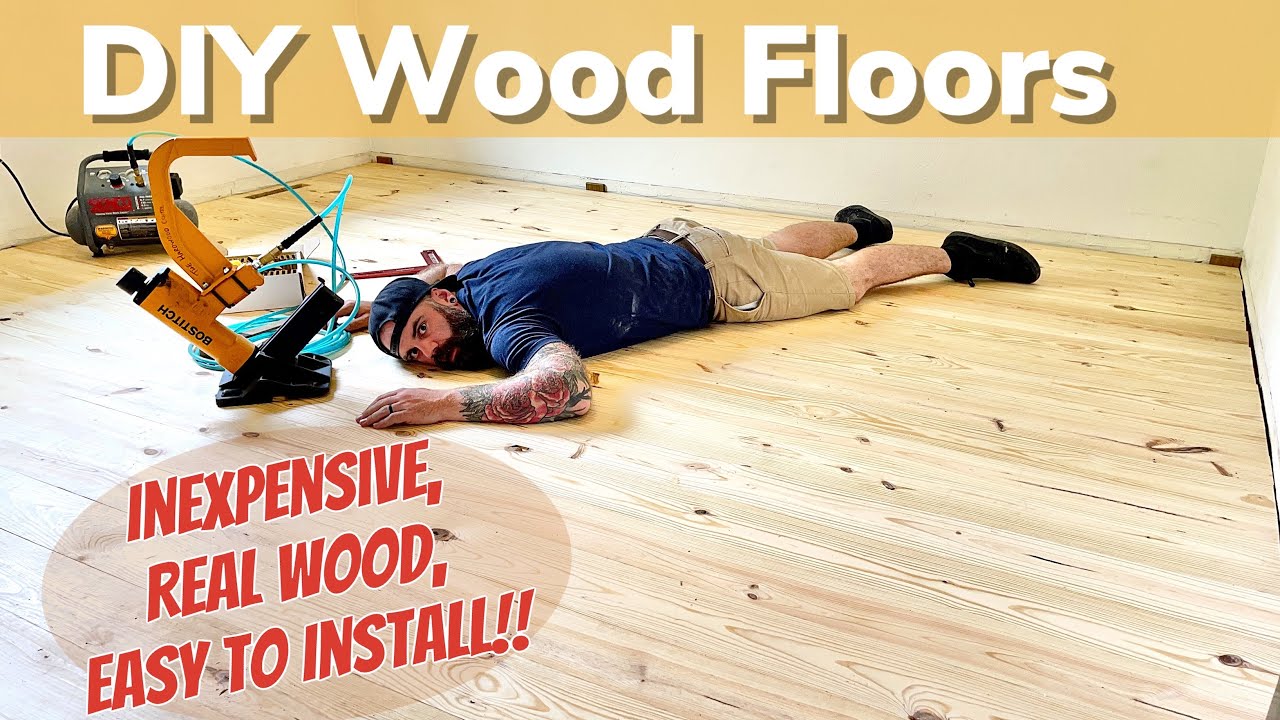
Credit: www.youtube.com
Frequently Asked Questions
What Is The Easiest Diy Hardwood Flooring?
Engineered hardwood flooring is the easiest DIY option. It features a simple click-lock installation system, making it beginner-friendly.
Is It Cheaper To Diy Flooring?
DIY flooring can be cheaper as it saves labor costs. Material prices vary, so compare options. Consider your skill level and time investment.
What Is The Cheapest Way To Build A Floor?
The cheapest way to build a floor is using concrete. Concrete is durable, cost-effective, and requires minimal maintenance.
What Flooring Is Closest To Hardwood?
Luxury vinyl plank (LVP) and engineered hardwood are closest to hardwood. They mimic wood’s appearance and texture effectively.
Conclusion
Creating your own hardwood floor can be a rewarding project. It adds value and beauty to your home. With the right tools and patience, you can achieve a professional look. Follow these steps carefully for the best results. Remember to measure twice and cut once.
This process saves you time and materials. Enjoy the satisfaction of completing this DIY project. Your new floor will bring warmth and style to your living space. Happy flooring!