
Refinishing cherry wood starts with sanding the old finish. Then, stain and apply a new finish for a fresh look.
Cherry wood furniture can last generations, but its finish can wear out. This makes refinishing a great option. Whether it’s an antique dresser or a modern table, the process can bring back its original charm. Cherry wood is known for its deep, rich color and smooth grain.
So, taking the time to refinish it can be very rewarding. You don’t need to be a professional to do this. With some patience and basic tools, you can achieve beautiful results. In this guide, we’ll explore each step in detail. This will help you transform your cherry wood piece into something that looks brand new.
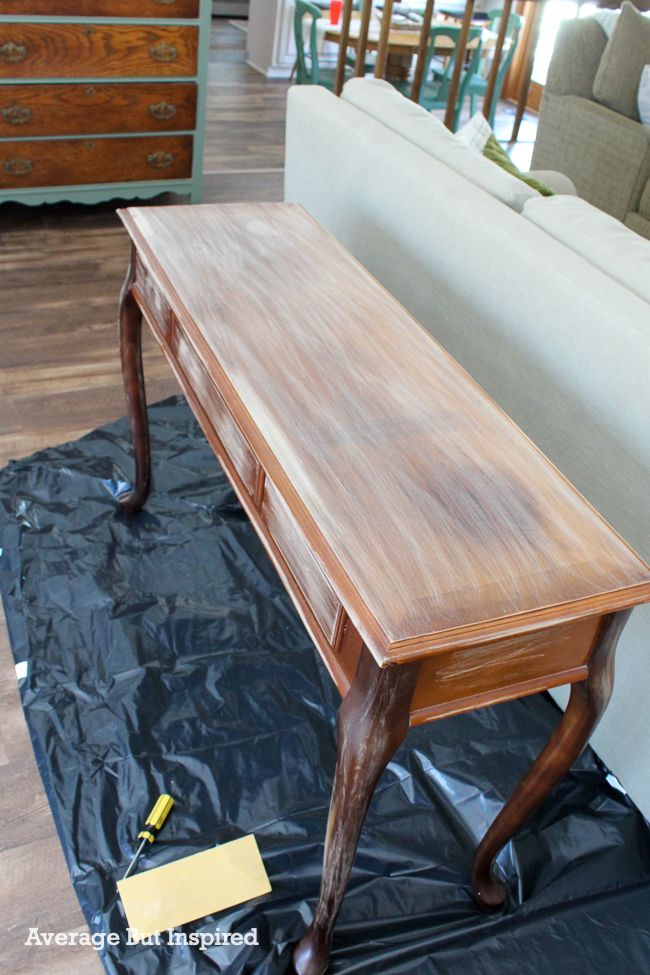
Credit: averageinspired.com
Preparing Your Workspace
Setting up your workspace is crucial. Clear the area of any clutter. Lay down protective sheets to catch any spills or debris.
Refinishing cherry wood is a gratifying project that can breathe new life into your furniture. However, before diving into the actual refinishing process, it’s crucial to prepare your workspace properly. This step ensures that you have a smooth and efficient experience, and it also keeps you safe.
Gathering Necessary Tools
Start by collecting all the tools you will need. This includes sandpaper of various grits, a sanding block, a tack cloth, and wood stain. You might also need a putty knife and wood filler if you encounter any imperfections. Having everything ready at hand prevents unnecessary interruptions.
I once forgot to get a tack cloth and ended up using an old rag, which left lint all over the wood. Trust me, having the right tools makes a world of difference.
Ensuring Proper Ventilation
Proper ventilation is essential for any wood refinishing project. Sanding and staining can release fumes and dust that are harmful if inhaled. Make sure your workspace has good air circulation. Open windows and use fans to keep the air moving.
If you’re working indoors, consider using a respirator mask. This simple precaution can keep you safe from harmful particles. Have you ever felt dizzy after using strong chemicals? Proper ventilation can prevent that.
Creating a well-prepared workspace sets you up for success. It ensures a smoother process, better results, and keeps you safe. So, before you start, make sure you have all your tools ready and your space well-ventilated. What other steps do you take to prepare your workspace?
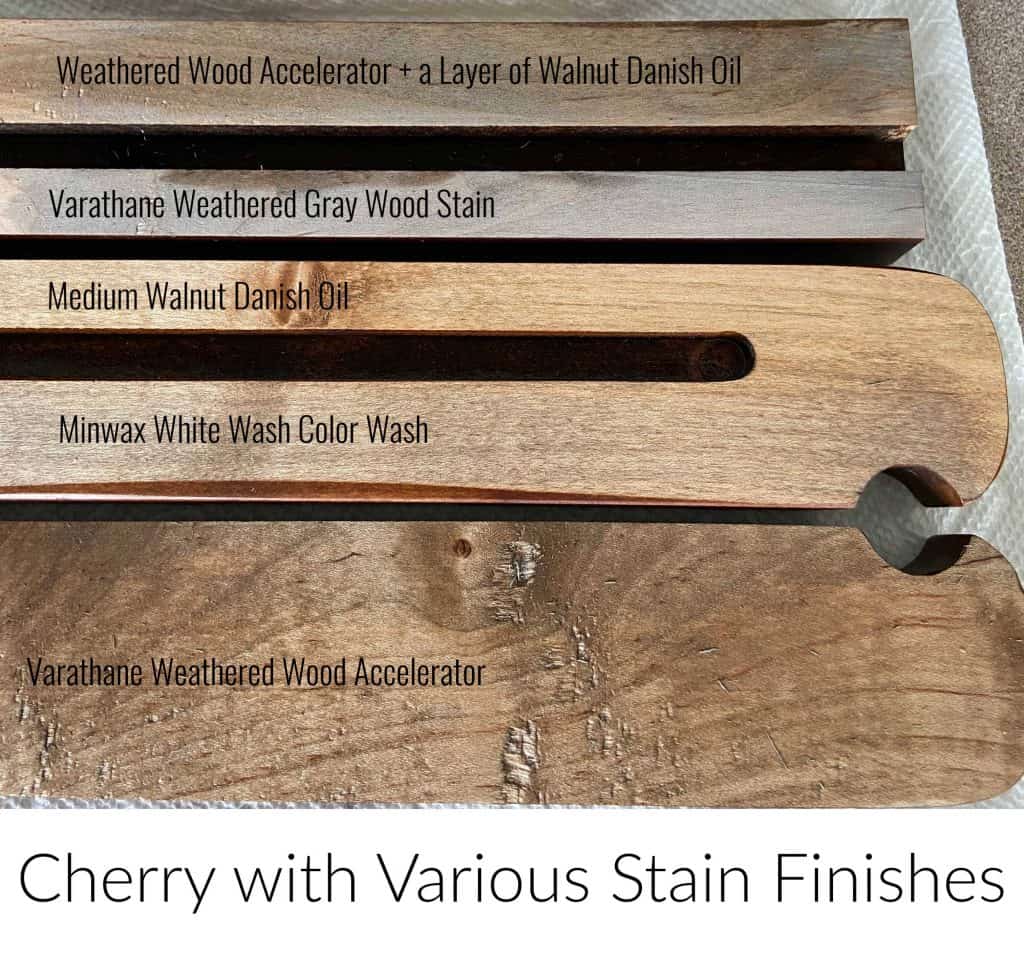
Credit: www.snazzylittlethings.com
Stripping The Old Finish
Removing the old finish from cherry wood is the first step in refinishing. Use a paint stripper to dissolve the old layers. Gently scrape off the softened finish with a putty knife.
Refinishing cherry wood can breathe new life into your furniture. The first crucial step is stripping the old finish. This process ensures a clean slate for your new stain or paint. Stripping the old finish might seem daunting, but with the right approach, it’s straightforward and rewarding.
Choosing A Stripping Agent
Selecting the right stripping agent is key. You have two main options: chemical strippers or natural alternatives. Chemical strippers, like those containing methylene chloride, are powerful and work quickly.
However, they require good ventilation and safety gear. On the other hand, natural strippers, often made from citrus or soy, are less toxic. They are safer but might take longer to work.
For a small project, you might prefer a natural stripper. If you’re tackling a large piece, a chemical stripper could save you time. Whichever you choose, read the instructions carefully.
Applying The Stripper
Applying the stripper is straightforward but requires patience. Start by putting on your safety gear – gloves, goggles, and a mask if using a chemical stripper.
Use a brush to apply a thick layer of stripper to the wood. Ensure you cover all areas evenly. Let the stripper sit for the time indicated on the product label, usually between 15 minutes to a few hours.
As the stripper works, you’ll see the old finish start to bubble and peel. Once it’s ready, use a scraper to gently remove the old finish. Be careful not to gouge the wood.
After scraping, wipe down the wood with a clean cloth to remove any residue. You may need to repeat the process if some finish remains.
Have you ever wondered how a simple change can transform your space? Stripping old finish is that first step. It’s like uncovering hidden potential in your cherished cherry wood pieces.
Sanding The Surface
Sanding the surface is a key step in refinishing cherry wood. It smooths out imperfections and prepares the wood for staining. Use fine-grit sandpaper for the best results.
Refinishing cherry wood requires careful sanding. This step is crucial for a smooth finish. Sanding removes old finishes and prepares the wood for new stain or paint. It’s important to use the right techniques and tools. This ensures the best results.
Selecting The Right Sandpaper
Choosing the correct sandpaper grit is essential. Start with a coarse grit, like 80, to remove the old finish. Progress to finer grits, such as 120 and 220. This smooths the surface without scratching the wood. Use high-quality sandpaper for consistent results.
Techniques For Even Sanding
Sanding should be done evenly to avoid marks. Always sand in the direction of the wood grain. This prevents scratches and ensures a smooth finish. Use light pressure to avoid gouging the wood. Regularly check your progress to maintain evenness.
Using a sanding block helps maintain flat surfaces. For curved areas, use a flexible sanding sponge. This ensures all parts of the wood are smooth. Take your time. Rushing can lead to mistakes and uneven surfaces.
After sanding, wipe the surface with a damp cloth. This removes dust and reveals any missed spots. A clean surface is ready for the next step in refinishing.
Repairing Imperfections
Refinishing cherry wood can transform your furniture into a stunning piece. However, to achieve a flawless finish, addressing imperfections is essential. Repairing cracks and holes is the first step in this process.
Filling Cracks And Holes
Cracks and holes in cherry wood can be daunting, but they are fixable. Start by cleaning the damaged area thoroughly to remove dirt and debris. This ensures the filler adheres properly.
Next, choose a wood filler that matches the color of your cherry wood. Apply the filler using a putty knife, pressing it firmly into the cracks and holes. Overfill slightly to ensure complete coverage.
Allow the filler to dry completely. The drying time can vary, so check the product instructions. Once dry, the filler should blend seamlessly with the wood.
Smoothing Out Repairs
After filling, the next step is to smooth out the repairs. Begin by sanding the filled areas with fine-grit sandpaper. Sand gently in the direction of the wood grain to avoid scratches.
Check the surface regularly to ensure it’s smooth and level with the surrounding wood. This step is crucial for a uniform finish.
If the filler stands out, you can use a matching stain to blend it further. Apply the stain carefully, matching the tone of the cherry wood.
Have you ever encountered a stubborn crack that refused to blend? Persisting in smoothing the area and matching the stain can make all the difference.
Staining The Wood
Refinishing cherry wood involves sanding, staining, and sealing the surface. Apply the stain evenly to enhance the wood’s rich color. Finish with a protective coat for lasting beauty.
Staining cherry wood can be a rewarding process that brings out the natural beauty of the grain. It’s an essential step in refinishing that adds depth and color to your wood. Getting it right requires attention to detail and the right tools.
Choosing The Right Stain
Selecting the right stain is crucial. Different stains can dramatically change the appearance of your cherry wood.
Consider the final look you want. Do you prefer a light, natural finish or a darker, richer tone?
Test the stain on a small, inconspicuous area first. This helps you see how the wood will react and ensures you’re happy with the color.
Applying The Stain Evenly
Applying the stain evenly is key to a professional finish. Uneven application can lead to blotchy results.
Use a clean, lint-free cloth or a high-quality brush. Apply the stain in the direction of the wood grain.
Work in small sections to avoid the stain drying out before you’re done. Wipe off excess stain with a clean cloth, ensuring an even coverage.
Remember, patience is your friend. Let the stain dry completely before considering a second coat. This ensures the best possible finish.
Have you ever tackled a staining project before? What challenges did you face? Share your thoughts in the comments below.
Applying The Finish
Applying the finish is a crucial step in refinishing cherry wood. It enhances the wood’s natural beauty and adds a protective layer. A good finish can make a significant difference in the final look and durability of your project.
Selecting A Finish Type
Select the right finish type for your cherry wood. Each type has its own benefits and drawbacks. Common options include oil-based, water-based, and polyurethane finishes. Oil-based finishes penetrate deep and enrich the wood color. Water-based finishes dry quickly and are easy to clean up. Polyurethane finishes provide a durable, long-lasting coat.
Techniques For A Smooth Coat
Proper techniques ensure a smooth and even finish. Start by sanding the wood with fine-grit sandpaper. Remove any dust with a tack cloth. Apply the finish in thin, even coats. Use a high-quality brush or a foam applicator. Allow each coat to dry completely before applying the next one.
Lightly sand between coats to remove any imperfections. Use fine-grit sandpaper for this step. Wipe away any dust before applying the next coat. Repeat these steps until you achieve the desired finish.
Buffing And Polishing
Buffing and polishing help achieve a smooth and shiny surface on cherry wood. Start by sanding the wood, then apply a high-quality polish. Buff the surface gently to bring out its natural beauty.
Refinishing cherry wood involves several steps to restore its natural beauty. Buffing and polishing are essential to achieve a smooth, glossy finish. This process can make the wood look new and vibrant. Let’s explore how to choose the right materials and achieve a high gloss.
Choosing Polishing Materials
Selecting the right polishing materials is crucial. Use fine-grit sandpaper to smooth the wood’s surface. After sanding, choose a high-quality polishing compound. The compound should be suitable for cherry wood. It will help to bring out the wood’s natural shine. You can find these compounds at most hardware stores.
Achieving A High Gloss
Achieving a high gloss requires patience and precision. Start by applying the polishing compound in small sections. Use a soft cloth to rub the compound into the wood. Buff the surface using circular motions. This technique helps to evenly distribute the compound. Repeat the process until you see a high gloss finish. The final step is to wipe the wood with a clean cloth. This removes any excess compound and reveals the wood’s shine.
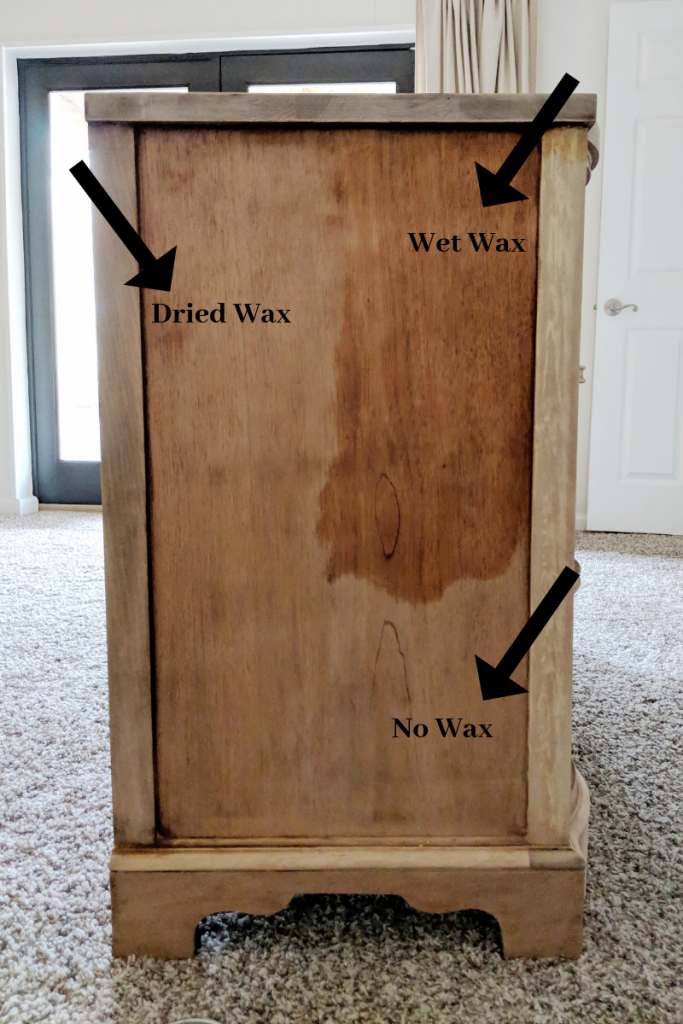
Credit: forresterhome.com
Maintenance Tips
Refinishing cherry wood can bring new life to your furniture. But it’s vital to maintain it well. Proper care keeps it looking fresh and polished. Here are some simple yet effective maintenance tips.
Regular Cleaning
Dust your cherry wood furniture weekly. Use a soft, dry cloth. Avoid wet or damp cloths. Water can damage the wood. A microfiber cloth works best. It traps dust without scratching the surface.
For deeper cleaning, use a mild soap solution. Mix a few drops of dish soap with warm water. Dampen a cloth with this solution. Wipe the wood gently. Dry the surface immediately with a clean cloth. This keeps the wood from absorbing moisture.
Protecting The Finish
Use coasters under drinks. Place mats under hot dishes. This prevents heat and moisture damage. Avoid placing furniture in direct sunlight. UV rays can fade cherry wood. Use curtains or blinds to block sunlight.
Apply furniture polish occasionally. Choose a polish suitable for cherry wood. Follow the manufacturer’s instructions. Polish helps protect and enhance the wood’s finish. Avoid products with silicone or ammonia. They can damage the wood over time.
Consider using a protective wax. Wax adds a protective layer. It also enhances the wood’s natural shine. Apply a thin coat with a soft cloth. Buff it to a shine. This keeps your cherry wood looking beautiful.
Frequently Asked Questions
How To Make Cherry Wood Look More Modern?
Refinish cherry wood with a lighter stain. Add sleek hardware and minimalist décor. Use matte finishes for a contemporary look.
What Is The Best Way To Finish Cherry Wood?
Apply a clear, oil-based polyurethane finish. Sand lightly between coats. This enhances cherry wood’s natural beauty and provides durability.
Can You Just Paint Over Cherry Wood?
Yes, you can paint over cherry wood. Sand the surface, apply a primer, then paint for best results.
Can You Stain Over Cherry Wood?
Yes, you can stain over cherry wood. Properly sand the surface and choose a suitable stain for best results.
Conclusion
Refinishing cherry wood can transform your furniture. The process may seem complex, but with the right tools and steps, it becomes manageable. Patience is key. Sand carefully, stain evenly, and seal thoroughly. These steps ensure a beautiful, lasting finish. Always remember to work in a well-ventilated area.
Your effort will pay off with stunning results. With practice, your skills will improve. Enjoy the process and the rewards it brings. Happy refinishing!