0x0000006B PROCESS1_INITIALIZATION_FAILED fixes
0x0000006B often indicates a boot-stage failure. On older Windows versions, it often points to a damaged bootcat.cache. On newer builds, it more often means a missing or unreadable core file. Fixing the wrong cause burns time and can leave the PC stuck at startup. This guide shows how to identify your Windows generation and choose the right recovery path.
This guide is part of our Windows BSOD stop codes: full list and fixes series.
The fastest first try is Windows Startup Repair if you can reach WinRE; on a Windows 7 or Server 2008 R2 machine without SP1, check the bootcat.cache branch before replacing system files.
What does 0x0000006B PROCESS1_INITIALIZATION_FAILED mean?
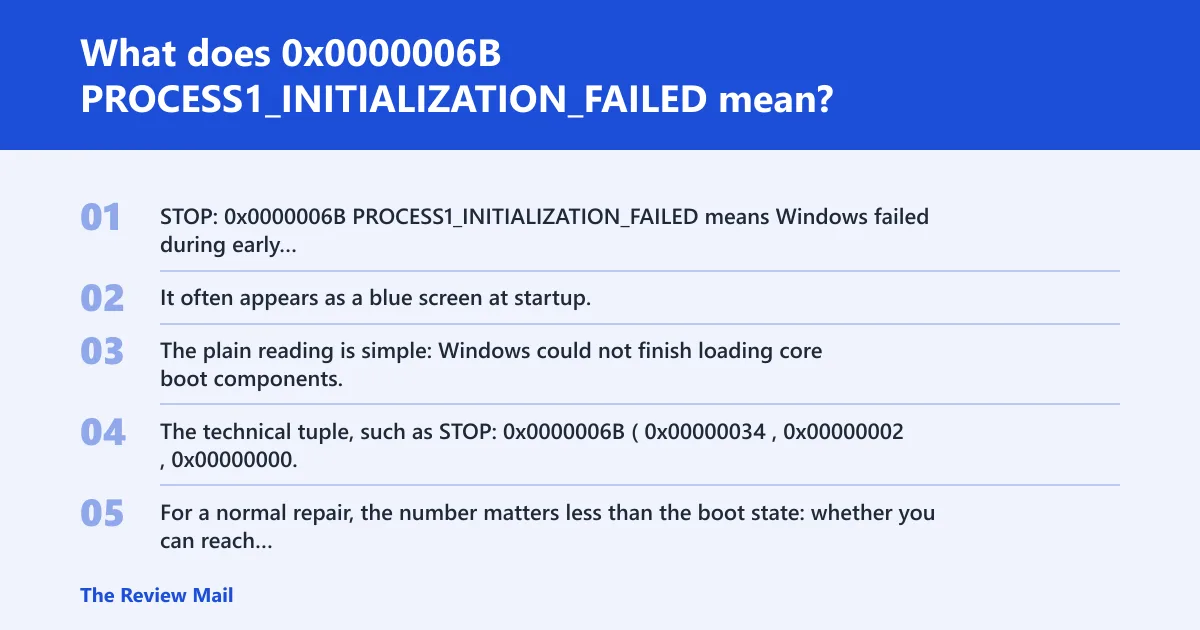
STOP: 0x0000006B PROCESS1_INITIALIZATION_FAILED means Windows failed during early initialization, before normal sign-in. It often appears as a blue screen at startup. The plain reading is simple: Windows could not finish loading core boot components, so recovery should begin at the boot stage, not with random app settings.
What the screen text and parameters tell you
The technical tuple, such as STOP: 0x0000006B (0x00000034, 0x00000002, 0x00000000, 0x00000000), mainly helps support triage and debugging. For a normal repair, the number matters less than the boot state: whether you can reach Safe Mode, WinRE, or only a black screen.
Microsoft says the bug check value is 0x0000006B and that it indicates Windows initialization failed (per Microsoft support). The debugger extension !analyze can help identify the root cause, but it is mainly for a technician with crash-dump access.
📊 The error is identified as STOP: 0x0000006B PROCESS1_INITIALIZATION_FAILED. Source: Submit an edit.
Which cause is most likely on your Windows version?
The right fix depends on generation. On some Windows 7 and Server 2008 R2 systems, bootcat.cache issues or catalog changes can contribute to this failure. On Windows 8, 8.1, 10, and 11, the issue may point to a missing boot file or a corrupt system file, so the first repair path may differ.
Version-by-version triage table
| Windows version | Boot stage | Likely cause | Best first fix | When not to use that fix |
|---|---|---|---|---|
| Windows 7 | Before sign-in | bootcat.cache corruption; missing boot file | Startup Repair, then SP1 or cache rebuild only if the version matches | Do not keep replacing DLLs first if the machine is clearly pre-SP1 |
| Windows Server 2008 R2 | Before sign-in | bootcat.cache corruption | Startup Repair, then install SP1 | Do not treat it like a generic Win10 file-corruption case |
| Windows 8 / 8.1 | Startup loop or blue screen | Damaged core file or boot file | Startup Repair, then SFC from recovery | Do not rebuild bootcat.cache unless you are sure the platform is the older branch |
| Windows 10 | Early boot | Missing boot-partition file or corrupt system file | WinRE, Startup Repair, then SFC /scannow or DISM | Do not use manual DLL replacement as the default |
| Windows 11 | Early boot | Missing boot-partition file or damaged file set | WinRE, Startup Repair, then SFC /scannow or DISM | Do not apply legacy Win7 bootcat.cache advice first |
Yes/no decision tree for bootcat.cache versus file damage
- Are you on Windows 7 or Server 2008 R2 without SP1? If yes, go to step 2. If no, skip to step 4.
- Did the problem start after installs, updates, or signature-related changes? If yes, bootcat.cache is a strong suspect. If no, still use Startup Repair first.
- Can you reach WinRE or Safe Mode? If yes, repair there. If no, use install media or recovery media first.
- Does the machine run Windows 8, 8.1, 10, or 11? If yes, treat it as a general boot-file or system-file problem first.
- Run Startup Repair, then SFC or DISM once the system can boot far enough.
Why bootcat.cache breaks Windows 7 and Server 2008 R2
bootcat.cache lives at c:\windows\system32\codeintegrity\bootcat.cache and is tied to early startup on Windows 7 or Server 2008 R2 without SP1. The file is regenerated at startup, and changes in catroot can trigger that regeneration. That is why updates or signature changes can turn a working boot into a blue-screen loop.
NeoSmart notes that this specific Bootcat.cache problem is fixed in Service Pack 1, so the branch matters only for those older systems. On newer Windows, this explanation usually does not fit the failure pattern.
How do you fix bootcat.cache corruption?
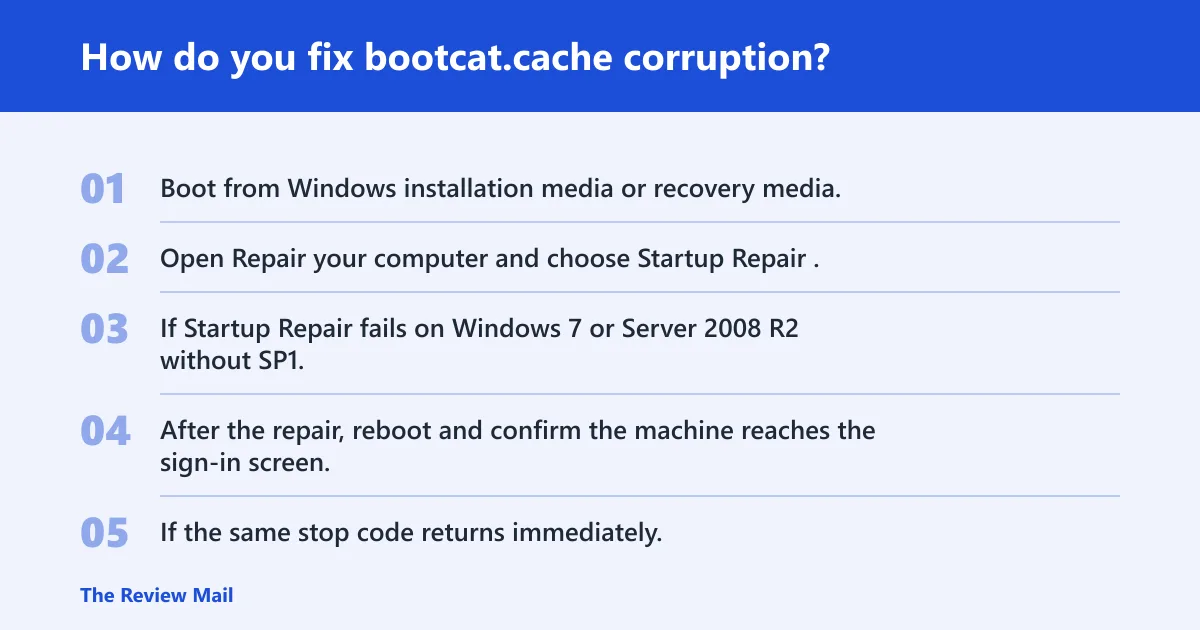
Startup Repair is often a good first step on Vista, 7, 8, and 8.1. On a matching Windows 7 or Server 2008 R2 system, the cache can then be rebuilt or replaced from recovery media. If the machine is still on the pre-SP1 branch, install Service Pack 1 rather than repeating the same repair loop.
- Boot from Windows installation media or recovery media.
- Open Repair your computer and choose Startup Repair.
- If Startup Repair fails on Windows 7 or Server 2008 R2 without SP1, boot into recovery and check whether bootcat.cache is the failing branch.
- After the repair, reboot and confirm the machine reaches the sign-in screen.
- If the same stop code returns immediately, install Windows 7 Service Pack 1 instead of reapplying the same cache fix.
Windows Startup Repair is the right first-pass tool when the system can still reach recovery tools. It can scan for damaged startup files and restore the boot path without manual file swapping.
Is ntdll.dll the file that is broken?
ntdll.dll is a Microsoft library that must be in %windir%/system32. If it is missing or unreadable, normal loading can stop very early. That said, not every 0x0000006B points to this file, and replacing it by default on Windows 10 or 11 is a poor first move.
NeoSmart includes replacing ntdll.dll from installation media as a repair step, but that belongs after you confirm the system-file branch. Treat it as a targeted fix, not a universal answer.
How to confirm the file problem before replacing anything
- If you can reach Safe Mode, sign in and open an elevated Command Prompt.
- Run
sfc /scannowto check protected system files. - If Windows will not boot, use installation media and open Recovery Environment first.
- Use Startup Repair before copying DLLs by hand.
- Only consider file replacement if the missing or damaged file is confirmed and the Windows version matches the repair media.
How do you repair core system files safely?
Run Startup Repair when Windows can reach recovery tools, then use Safe Mode to disable recent changes or bad drivers if the machine boots far enough. After that, use SFC to verify file integrity. Microsoft also notes that a driver disabled in the Drivers tab can trigger this stop code (per Microsoft support).
- Enter Safe Mode from Advanced Startup options.
- Remove or roll back any recent driver, especially storage or antivirus software, through Device Manager.
- Open an elevated Command Prompt and run
sfc /scannow. - If Windows 10 or 11 still fails, run
DISM /Online /Cleanup-Image /RestoreHealthafter a successful boot. - If the system only reaches recovery, use Startup Repair again and then retry the boot.
Microsoft also says any part of the disk subsystem can cause this bug check, so if file repair does nothing, run chkdsk from recovery and check cables, storage health, and recent disk changes.
Still not working?
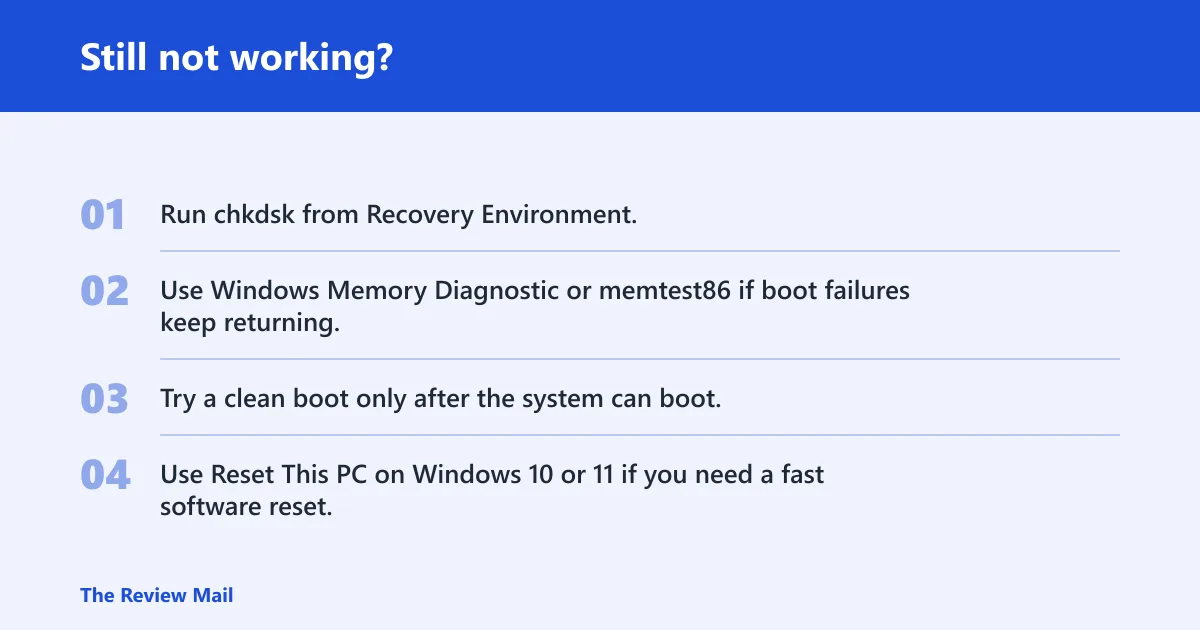
If WinRE, Safe Mode, and Startup Repair all fail, move from software repair to deeper checks. The next steps are storage diagnostics, memory testing, and then either reinstalling Windows or calling vendor support if the device is under warranty. At that point, repeated DLL swapping usually wastes time.
- Run
chkdskfrom Recovery Environment. - Use Windows Memory Diagnostic or memtest86 if boot failures keep returning.
- Try a clean boot only after the system can boot.
- Use Reset This PC on Windows 10 or 11 if you need a fast software reset.
Validation matters. After any repair, the machine should boot cleanly twice in a row, and sfc /scannow should finish without reporting unrepaired corruption. If the stop code returns on the next startup, the fault is still there.
Prevention is limited, but one real step helps: install feature and security updates promptly, and avoid disabling storage or boot-related drivers in the Drivers tab.
Frequently asked questions
What does 0x0000006B PROCESS1_INITIALIZATION_FAILED mean?
It means Windows failed during early startup before the sign-in screen. The next step is to boot into WinRE, run Startup Repair, and then use SFC or DISM if the system can load far enough for file checks. On older Windows 7 systems, also check the bootcat.cache branch.
Why does Windows show 0x0000006B at startup?
Because something needed for boot initialization is missing, unreadable, or disabled. The cause may be a boot-partition file, a storage issue, or a driver that was turned off in the Drivers tab. If the system reaches Safe Mode, check recent changes there first.
Is 0x0000006B caused by ntdll.dll or bootcat.cache?
It can be either, depending on version. bootcat.cache is the older Windows 7 and Server 2008 R2 without SP1 branch, while ntdll.dll matters when a core system file in %windir%/system32 is missing or corrupted. Do not pick one before matching the Windows generation.
How do I fix 0x0000006B on Windows 7, 10, or 11?
On Windows 7, start with Startup Repair and then check for the SP1 bootcat.cache fix. On Windows 10 or 11, use WinRE, run Startup Repair, then SFC /scannow and DISM /Online /Cleanup-Image /RestoreHealth after a successful boot. Avoid manual DLL replacement as the first move.
What does STOP: 0x0000006B (0x00000034, 0x00000002, 0x00000000, 0x00000000) indicate?
Those parameters are mainly for diagnosis. For most users, they confirm the system failed during boot rather than after login. If you have crash-dump tools, !analyze can help narrow the root cause; otherwise, the more useful step is choosing the right recovery path for the Windows version.
Can bootcat.cache corruption cause PROCESS1_INITIALIZATION_FAILED?
Yes, on Windows 7 and Windows Server 2008 R2 without Service Packs. The file sits at c:\windows\system32\codeintegrity\bootcat.cache, is generated at startup, and can be affected when catroot changes during signature updates. That branch does not fit modern Windows in the same way.
How do I use Startup Repair for 0x0000006B?
Boot from Windows installation or recovery media, choose Repair your computer, then select Startup Repair. On Vista, 7, 8, and 8.1 this is the best first-pass repair tool. Reboot afterward and test whether the machine reaches the desktop twice without returning to the same stop code.
Should I replace ntdll.dll or repair system files first?
Repair system files first. Run Startup Repair, then SFC /scannow once Windows can boot or Safe Mode is available. Only replace ntdll.dll from installation media if the file is confirmed missing or corrupt and the Windows version matches the repair source. On Windows 10 and 11, manual replacement should not be the default.