0x00000060: What It Means and How to Fix the Crash
Stop code 0x00000060 is the PROCESS_INITIALIZATION_FAILED bug check. Use the crash timing, update history, and Windows kernel crash dump analysis to narrow the next step instead of making several changes at once. For this bug check, Microsoft provides WinDbg !analyze as a way to inspect the crash and help determine the root cause.
What does stop code 0x00000060 mean?
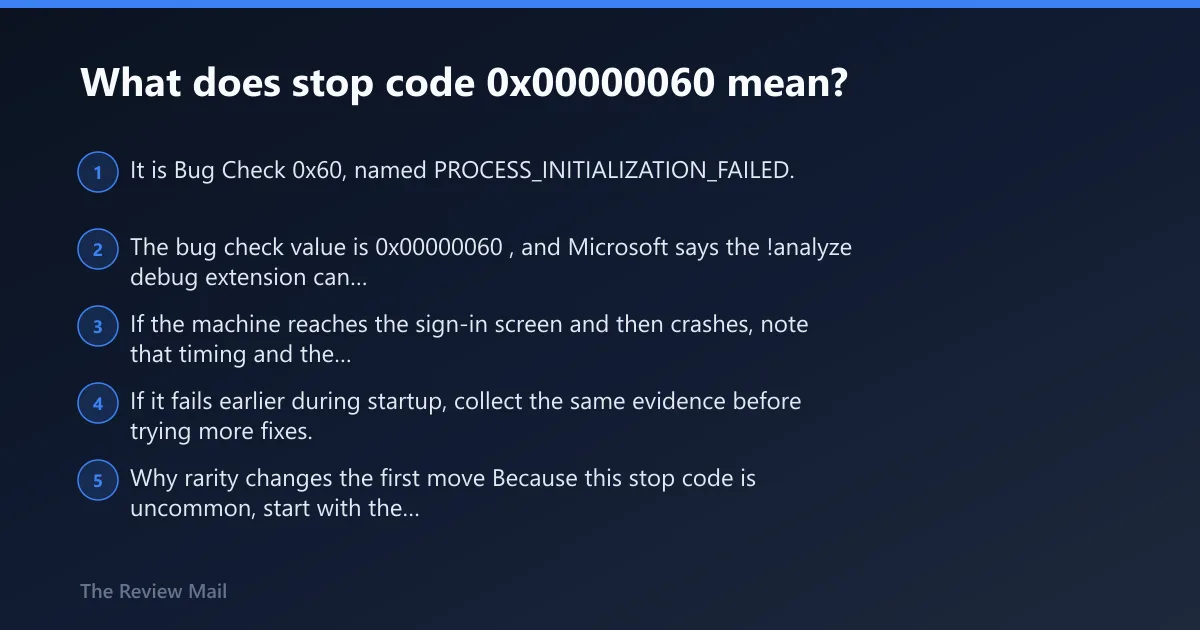
It is Bug Check 0x60, named PROCESS_INITIALIZATION_FAILED. The bug check value is 0x00000060, and Microsoft says the !analyze debug extension can display information about the bug check and help determine the root cause.
If the machine reaches the sign-in screen and then crashes, note that timing and the last system change are important clues. If it fails earlier during startup, collect the same evidence before trying more fixes.
Why rarity changes the first move
Because this stop code is uncommon, start with the most recent change that lines up with the crash rather than trying several repairs at once. Test one change, reboot, and confirm whether the same stop code returns.
According to Bug Check 0x60: PROCESS_INITIALIZATION_FAILED — The bug check value for PROCESS_INITIALIZATION_FAILED is 0x00000060. (source)
What causes 0x00000060 most often?
The facts provided here support only two grounded leads: the bug check itself, and using WinDbg !analyze to inspect the crash. Treat the last recent change that matches the crash timing as the most practical starting point, then confirm the result in the dump.
Likely causes, ranked by clue quality
- Recent driver or software change: worth checking when the crash begins after a package, device, or service change.
- Recent Windows update: worth checking when the crash begins soon after an update install.
- Firmware or hardware change: worth checking when the crash began after a BIOS, firmware, or hardware change.
- No recent change: the dump becomes the best source for narrowing the faulting component.
Use this triage matrix before changing anything
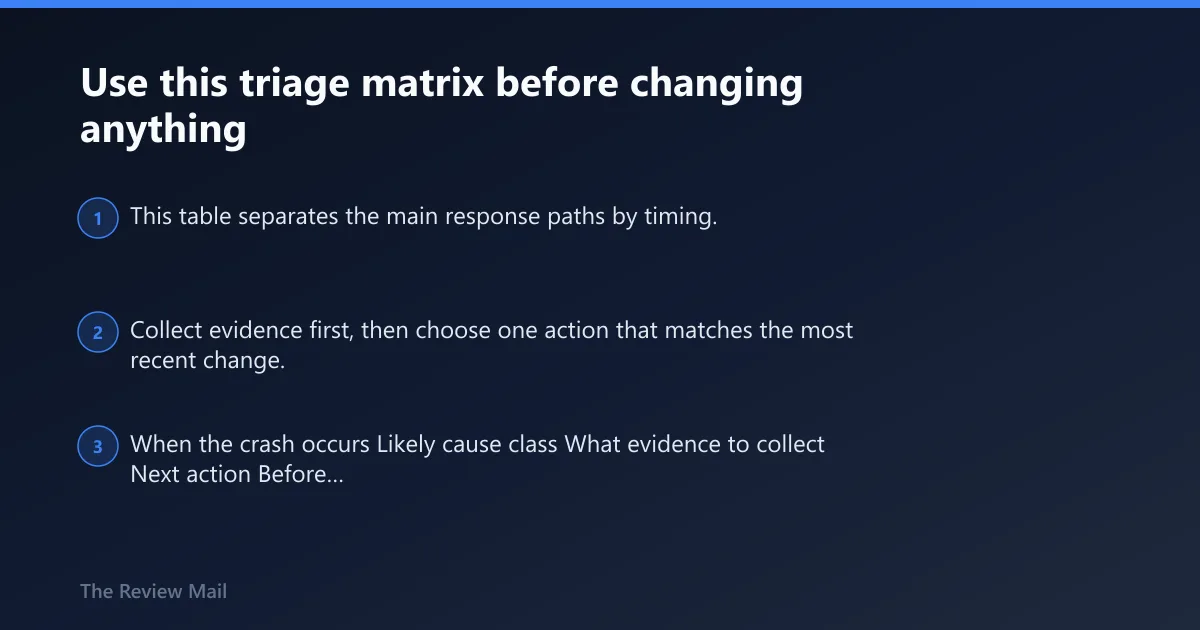
This table separates the main response paths by timing. Collect evidence first, then choose one action that matches the most recent change.
| When the crash occurs | Likely cause class | What evidence to collect | Next action |
|---|---|---|---|
| Before login or during boot | Recent startup change | Photo of the stop screen, last successful boot time, Event Viewer entries, update history | Boot Safe Mode or WinRE, then undo the most recent matching change |
| Right after a driver update | Driver or related software | Device name, driver version, install date, crash dump | Roll back or uninstall that driver, then reboot and retest |
| Right after a Windows cumulative update | Update-related change | Windows Update history, KB details, dump file, affected hardware list | Remove the recent update and retest before making deeper changes |
| Randomly, with no recent change | Unknown until analyzed | Memory test result, disk check result, firmware version, dump file | Collect the dump and analyze it with WinDbg !analyze |
How do I troubleshoot bug check 0x60 in Windows?
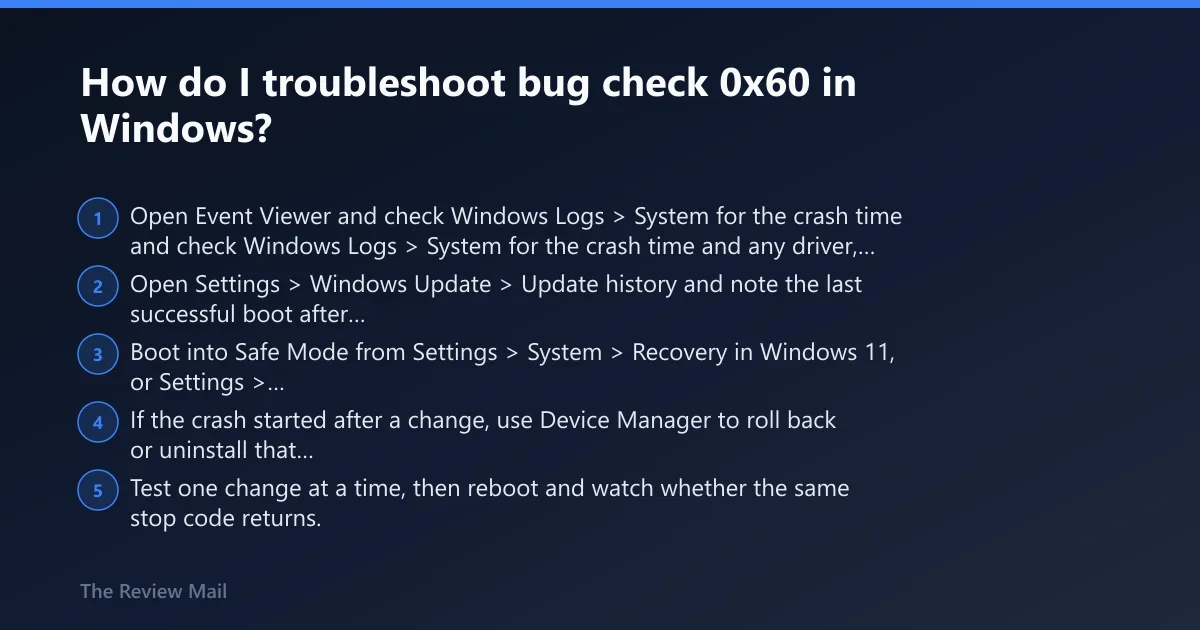
Start with Event Viewer, update history, and the last change before the crash. If the machine will not boot normally, use Safe Mode or recovery to get back to a point where you can collect evidence and undo the most likely recent change.
- Open Event Viewer and check Windows Logs > System for the crash time and any driver, disk, or update events before it.
- Open Settings > Windows Update > Update history and note the last successful boot after a cumulative update or driver package.
- Boot into Safe Mode from Settings > System > Recovery in Windows 11, or Settings > Update & Security > Recovery in Windows 10.
- If the crash started after a change, use Device Manager to roll back or uninstall that driver, or remove the recent Windows update.
- Test one change at a time, then reboot and watch whether the same stop code returns.
Fix the driver path first if the crash followed a change
If the crash started after a driver, filter, or service update, test that path first. Use the vendor’s package or Device Manager to roll back, uninstall, or update the changed driver, then reboot and check whether the stop code returns.
- Open Device Manager, find the device that changed, and check Properties > Driver for the version and date.
- Use the vendor’s driver package, not only Windows Update, to install the newest supported release.
- If no update exists, use Device Manager > Properties > Driver > Roll Back Driver or Uninstall device and reboot.
- If the crash is tied to a non-device service, use msconfig for a clean boot, then disable the related service and test again.
Should you check Windows updates, BIOS, or firmware next?
Check whether the crash started after a Windows update, BIOS change, or firmware change. If the most recent change matches the crash start time, remove that change and retest before moving to other areas.
- Go to Settings > Windows Update and review the latest updates offered for the device.
- Open Update history and note the last patch before the first crash.
- Check the system vendor’s BIOS and firmware versions, then compare them with the OEM’s support page and update if they lag the supported release line.
- If a recent update matches the crash start time, remove that update and retest before making deeper changes.
Where can I find the crash dump for a 0x00000060 BSOD?
Check %SystemRoot%\MEMORY.DMP for the main dump and %SystemRoot%\Minidump for small dumps. For recurring boot failures, use a dump setting that preserves enough state to inspect the faulting path in WinDbg.
- Open System Properties > Advanced > Startup and Recovery.
- Set Write debugging information to Automatic memory dump for most recurring cases.
- Use Kernel memory dump when the machine has enough space and the crash repeats during boot.
- Use Complete memory dump only when full RAM state is needed and the disk can hold it.
- Use Small memory dump (256 KB) for quick triage or one-off failures. (salivity.github.io)
What does Microsoft recommend for analyzing bug check 0x60?
Open the dump in WinDbg and run !analyze to identify the faulting component and narrow the cause class. Microsoft says this debug extension can display information about the bug check and help determine the root cause.