Guest Account Windows 11: How to Set It Up Safely
Windows 11 no longer includes a true Guest account. The practical replacements are a standard local user for most shared PCs, kiosk mode for one-app access, and a child Microsoft account when you need family controls. Poor setups can expose files, browser sign-ins, and device settings. This guide shows which option fits by privacy need, admin access, and Windows 11 edition. (Microsoft Learn)
Quick answer
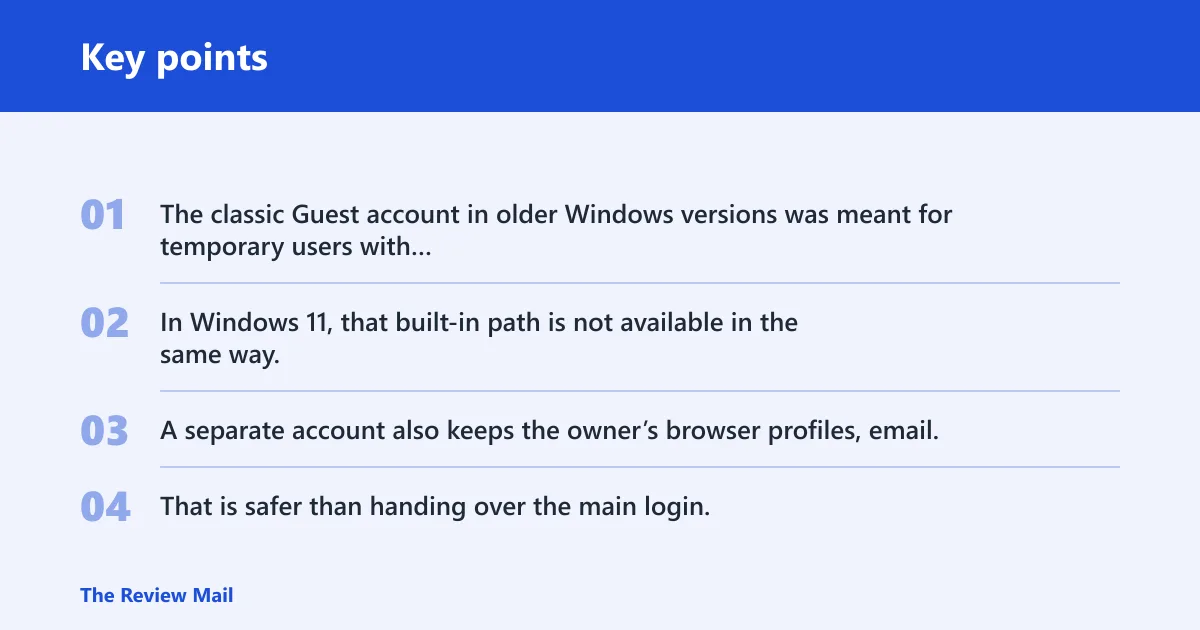
The classic Guest account in older Windows versions was meant for temporary users with very limited access. In Windows 11, that built-in path is not available in the same way, so the practical move is to create a separate account with fewer permissions than the owner’s account.
A separate account also keeps the owner’s browser profiles, email, and desktop files out of reach unless they are explicitly shared. That is safer than handing over the main login, even though a local account is not as tightly restricted as the old Guest account.
Why the classic Guest account is gone
Windows 11 no longer appears to offer the classic built-in Guest account, and older Microsoft guidance says the Guest account was deprecated in Windows 10. If you try to create a true Guest account, you will run into the reserved name problem: the account name cannot actually be Guest.
Windows setup also pushes you toward Microsoft account sign-in unless you choose the local-account path. That matters because a shared-device setup often works better when the temporary user does not get linked to the owner’s email, cloud sync, or Microsoft 365 sign-in.
A common first-timer mistake is assuming the label alone makes the account safe. It does not. The safer approach is a standard local account with limited permissions, plus cleanup after use.
Best guest-style setup for Windows 11
The best replacement depends on who needs access and how much control they need, plus whether you are on Windows 11 Home or Pro. Use the table below to choose the least risky setup that still fits the job.
| Use case | Account type | Exact setup path | Permission level | Risk notes |
|---|---|---|---|---|
| Home sharing | Local account | Settings > Accounts > Family & other users > Add account > I don’t have this person’s sign-in information > Add a user without a Microsoft account | Standard user | Good privacy separation, but it can still see any folders or printers you share |
| Temporary coworker access | Local account | Same Settings path, or Command Prompt as administrator with net user Guest1 /add /active:yes | Standard user | Best for a few apps or a browser, not for admin work or system changes |
| Child use | Microsoft account | Add a family member and manage it in Family Safety | Standard user | Best when you need screen time, content limits, and account oversight |
| Kiosk-like use | Local account or assigned-access setup | Use a limited account and, on Pro, consider kiosk tools or assigned access | Very limited | Closer to a locked-down device, but setup options vary by edition |
How do you add a guest-style account?
Create a local account in Settings and keep it as a Standard user unless you have a specific reason to do otherwise. That is the modern replacement for a guest account in Windows 11, and it avoids tying the login to a Microsoft account during setup.
On Windows 11 Home, this is often the most practical management path. On Pro, there is generally more room for policy-based control, but the first step is usually the same: create the local account, then limit permissions.
Create the account in Settings
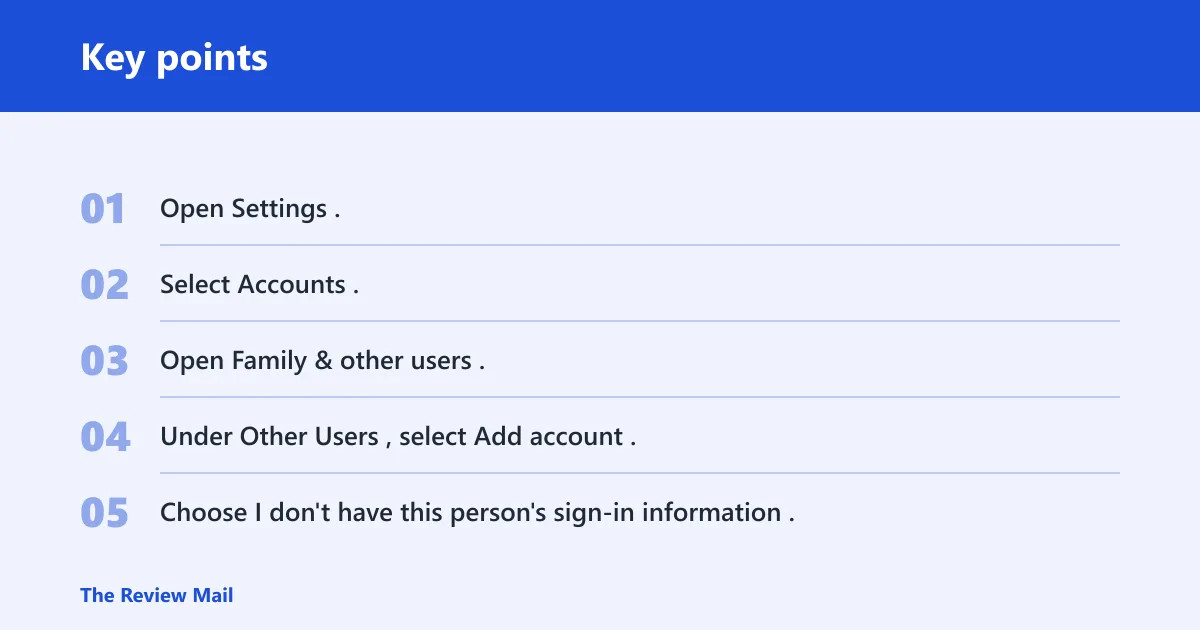
Open Settings, go to Accounts, then Family & other users. Under Other Users, select Add account. That path creates a local account instead of prompting for a Microsoft account sign-in.
- Open Settings.
- Select Accounts.
- Open Family & other users.
- Under Other Users, select Add account.
- Select Add a user without a Microsoft account.
- Enter a name that is not Guest.
- Finish the account creation flow.
That last point matters. The reserved name Guest is not available as a true Guest account, so use a different name such as Visitor or TemporaryUser.
Say your family shares a laptop in the living room. A local account named Visitor can keep the main owner’s browser history and OneDrive sign-in separate, while still letting a guest open the web and a few apps.
Set the account to Standard user
After creation, make sure the account is a Standard user. That limits system-wide changes, blocks most admin-level settings, and is the safer choice for non-owner logins. Do not leave a temporary user as Administrator unless you have a specific administrative task to complete.
On Windows 11 Pro, you can also use local group and policy tools for stricter control. On Home, you generally rely on the account type itself and what folders, printers, and apps you share with it.
How do you make it without a password?
Create the local account without a Microsoft account and leave the password blank if the setup flow allows it. That gives you a password-free local account, which is the common replacement for a guest-style login on Windows 11, especially for short-term use.
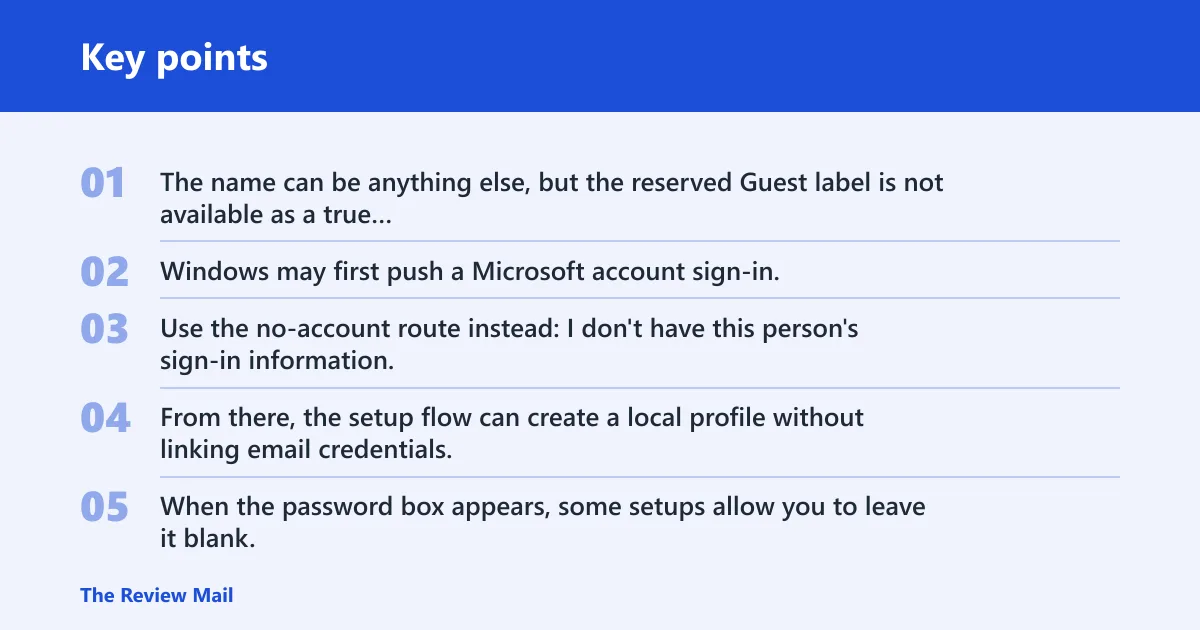
The account still should not be named Guest. The name can be anything else, but the reserved Guest label is not available as a true Guest account.
Finish the setup without a Microsoft account
Windows may first push a Microsoft account sign-in. From there, the setup flow can create a local profile without linking email credentials.
When the password box appears, some setups allow you to leave it blank. If the device requires a password entry, use a short local password and store it separately. For a genuinely temporary guest-style login, a blank password is the least friction, but it is also less secure if people have physical access to the machine.
Find the account after setup
The new account appears under Settings > Accounts > Family & Other Users > Other Users. That is also where you return later to change the account type, remove it, or check whether it is still present after a cleanup pass.
Picture a shared office PC used for one afternoon by a contractor. After the work ends, the account should remain easy to find in Other Users so you can remove it without hunting through old Control Panel menus.
How do you create a guest-style account from Command Prompt?
Use Command Prompt as administrator if you want a faster local-account method. The command-line path is useful on both Home and Pro, but it still creates a local account, not a true Guest account, and the prompt must be run as an administrator.
Run the command as administrator
Open Command Prompt with admin rights, then use the net user command. The example command is net user Guest1 /add /active:yes. That creates a local user quickly, and the name Guest1 avoids the reserved Guest name.
- Open Command Prompt as administrator.
- Type net user Guest1 /add /active:yes.
- Press Enter.
- Go to Settings > Accounts > Family & other users to confirm the account.
- Change it to Standard user if needed.
If you need the account to stay password-free, handle the password state in the local account settings after creation. The command creates the user quickly; the permission check comes next.
Adjust permissions after creation
After the command succeeds, verify that the account is not an Administrator. Standard user is the safer default for temporary access because it limits changes to device-wide settings, installed software, and other users’ files.
If the account is only meant for web access or a single line-of-business app, consider restricting shared folders and leaving the rest of the profile empty. That keeps the account useful without giving it broad access.
What to change after creation
After you create the account, switch it to Standard user, check what folders or printers are shared with it, and remove any access that is not necessary. A local account is safer than sharing the owner’s main login, but it still needs cleanup if it is only temporary.
Windows 11 Home and Pro both let you manage the account in Settings, but Pro gives you more policy options if you need them. For a household PC, the Settings app is usually enough. For a business machine, Pro is easier to lock down further.
- Change the account type from Administrator to Standard user.
- Review shared folders, network shares, and printer access.
- Check browser profiles and saved sign-ins after use.
- Remove or disable the account when the guest no longer needs it.
Microsoft’s older policy reference says renaming Guest slightly reduces guessability. That is not the same as strong security, but it is one more reason not to leave a temporary account with an obvious name or broad permissions.
How do you disable, remove, or access it?
Find the account again in Settings > Accounts > Family & other users > Other Users. From there, you can sign in with the new local account, disable access by changing the account’s use, or remove it entirely when the temporary user is done.
Sign in with the new account
At the Windows sign-in screen, choose the new user and log in with its password if it has one. If you left it password-free, the sign-in is simpler, but that should be reserved for controlled, short-term use on a device with physical access limits.
Disable or remove the account
To stop future use, remove the account from Other Users in Settings. If you only need to pause access, use the account management tools available on your edition to disable or limit it rather than deleting it outright. Windows 11 Pro has more options here than Home.
Suppose a temporary coworker used the PC for a single presentation. Once the files are copied off, remove the account and check that the Downloads folder, desktop shortcuts, and browser data did not stay behind in the shared profile.
Frequently asked questions
How do I add a guest user to a PC?
Create a local user in Settings under Accounts > Family & other users, then keep it as a Standard user. Windows 11 does not provide the old built-in Guest account, so this local-account method is the practical replacement for most shared PCs.
How do I create a guest account in Windows 11 without a password?
Use the local-account path in Settings and leave the password blank if the flow allows it. The account should not be named Guest, because that reserved name is not available as a true Guest account in Windows 11.
How do I make a guest account on Windows 11 without logging in?
That creates a separate login without requiring the owner’s Microsoft account credentials.
How do I create a guest account in Windows 11?
Create a local account through Settings > Accounts > Family & other users, or use an administrator Command Prompt and the net user method. Either way, the result is a standard local user, not the legacy Guest account.
How do I disable a guest account in Windows 11?
Open Settings, go to Accounts > Family & other users, and manage the account from Other Users. If the account was temporary, remove it after use; if you need to pause it, use the account controls available on your edition, especially on Pro.
How do I access a guest account in Windows 11?
At the sign-in screen, select the local account name you created and sign in with its password if it has one. If the setup was password-free, access is direct, but that setup should be limited to controlled shared-device use.