How to Disable Dhcp Windows 11
Disable DHCP in Windows 11 by setting your Wi-Fi or Ethernet adapter to a manual IP address in Settings or Control Panel. If you leave the adapter on automatic, Windows keeps asking a DHCP server for an address, and a bad assignment can leave the PC offline. Change the right adapter, or you can lose network access or create an IP conflict. This guide shows where to change the setting and how to confirm the adapter is using a static address.
What are you changing in Windows 11?
DHCP is Windows 11’s default automatic address method. The setting sits on each network adapter, not in one system-wide place. If your PC has both Wi-Fi and Ethernet, change the adapter that is actually in use. Microsoft’s Windows IP configuration guidance and ipconfig reference both describe adapter-level IP configuration and lease behavior, including how Windows reports the current IP stack state.
Manual means a static IP. Automatic means DHCP. When you switch to manual, you may need these four values: IP address, subnet mask, default gateway, and preferred DNS. IPv6 can use separate settings, so do not assume the IPv4 change carries over. For IPv4, Windows also supports automatic private addressing fallback; APIPA in the 169.254.0.0/16 range indicates that Windows could not obtain a usable DHCP lease and self-assigned an address, not that a static configuration succeeded.
When should you leave DHCP on?
Leave DHCP on for most home networks. A router or gateway usually provides the address, gateway, and DNS values automatically. If your network is managed by a school or workplace, manual settings may need approval or may not be allowed at all.
What will you need before you change the setting?
- Your active adapter name, such as Wi-Fi or Ethernet.
- Static IPv4 details from your router, administrator, or ISP if you plan to use manual addressing.
- Admin access to the PC.
- A way to check the connection afterward with
ipconfig /all. - Optional: the router page or gateway address for a reachability check.
How do you disable DHCP in Windows 11?
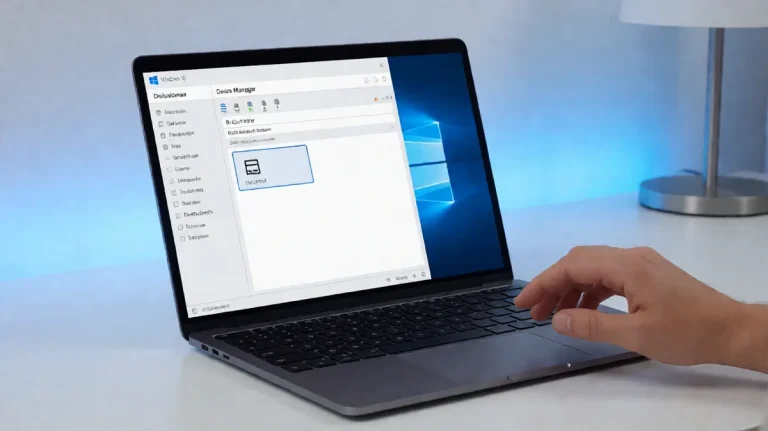
Open Settings > Network & internet, pick the adapter you use, then change IP assignment from Automatic (DHCP) to Manual. Enter valid IPv4 details and save. On Windows 11, that per-adapter change is the normal way to turn DHCP off. Microsoft documents these IP settings in the Windows network settings guidance, and the same per-adapter model is reflected in the netsh interface ip command set.
- Open Settings > Network & internet.
- Select Wi-Fi or Ethernet, depending on the active connection.
- Open the adapter page for the connected network.
- Find IP assignment and select Edit.
- Change Automatic (DHCP) to Manual.
- Turn on IPv4 before you enter values.
- Type the IP address, Subnet mask, Default gateway, and Preferred DNS.
- Save the change and verify the adapter reconnects.
Picture a desktop on Ethernet that needs a fixed printer address. You change only the Wi-Fi adapter, save, and the printer still cannot find the PC. The fix is to edit the Ethernet adapter instead, because each connection keeps its own DHCP setting.
How do you change the classic adapter settings?
Use the Control Panel path if the modern Settings page is unavailable or if you prefer the older adapter dialog. Open Network Connections, choose the adapter, then edit Internet Protocol Version 4 (TCP/IPv4). This method also lets you switch back to automatic settings later.
- Open Control Panel > Network and Internet > Network Connections.
- Right-click the active adapter and open Properties.
- Select Internet Protocol Version 4 (TCP/IPv4).
- Choose Use the following IP address for static values.
- Enter the IP address, subnet, gateway, and DNS values.
- Or choose Obtain an IP address automatically to return to DHCP.
- Confirm with OK, then close the adapter windows.
How do you verify DHCP in Windows 11?
Do not assume the toggle worked. Check the adapter name, the current IP, and the DHCP status with ipconfig /all. Microsoft’s ipconfig documentation shows that this command displays adapter configuration details, including whether DHCP is enabled. A real static setup has a normal private or public address that matches your plan. An APIPA address in the 169.254.0.0/16 range means Windows failed to get a usable DHCP assignment; it is fallback behavior when automatic addressing fails, not a successful result of manual static configuration.
| Adapter type | Current IP | DHCP Enabled status | Gateway | APIPA check | Next action |
|---|---|---|---|---|---|
| Wi-Fi | 192.168.1.50 | No | 192.168.1.1 | No | Static IP took effect |
| Ethernet | 169.254.23.8 | Yes | Blank | Yes | Lease failed; recheck router DHCP or adapter choice |
| Wi-Fi | 10.0.0.42 | Yes | 10.0.0.1 | No | DHCP is still active |
| Ethernet | 192.168.0.77 | No | 192.168.0.1 | No | Manual IP is active |
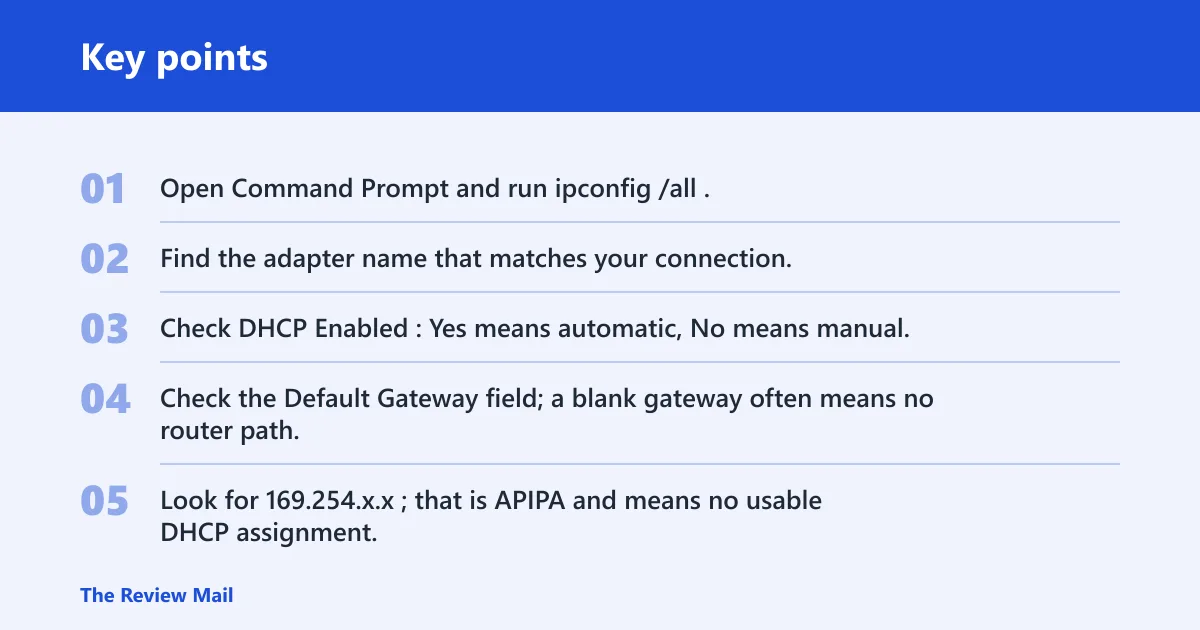
- Open Command Prompt and run
ipconfig /all. - Find the adapter name that matches your connection.
- Check DHCP Enabled: Yes means automatic, No means manual.
- Check the Default Gateway field; a blank gateway often means no router path.
- Look for 169.254.x.x; that is APIPA and means no usable DHCP assignment.
- Ping the gateway address, such as ping 192.168.1.1, to confirm router reachability.
- If you return to DHCP, run
ipconfig /renewafter the change.
If you want a direct status check, you can DHCP Enabled: No in Windows 11 and compare it with the adapter’s current IP and gateway in ipconfig /all. Suppose Wi-Fi shows 169.254.18.22 after you switch to manual. That is not a valid static address. It is Windows fallback behavior, and you should check whether the adapter has the right static fields or whether the router is providing an address at all.
What if Wi-Fi and Ethernet differ?
Change the adapter that is actually carrying traffic first. If Wi-Fi is connected, fix Wi-Fi. If Ethernet is plugged in and Wi-Fi is idle, fix Ethernet. Repeat the change on the second adapter only if you also need that path to use the same addressing scheme.
Should you check IPv6 separately?
IPv6 may have its own automatic or manual configuration. If your network uses IPv6, confirm that its setting matches the setup you need. A change to IPv4 does not guarantee IPv6 is using the same method.
What if that didn’t work?
If the adapter still shows the wrong setting, work through the more direct checks in order. The most common misses are changing the wrong adapter, leaving the gateway blank, or mistaking APIPA for a real manual address. Work from the setting page to the command line, not the other way around.
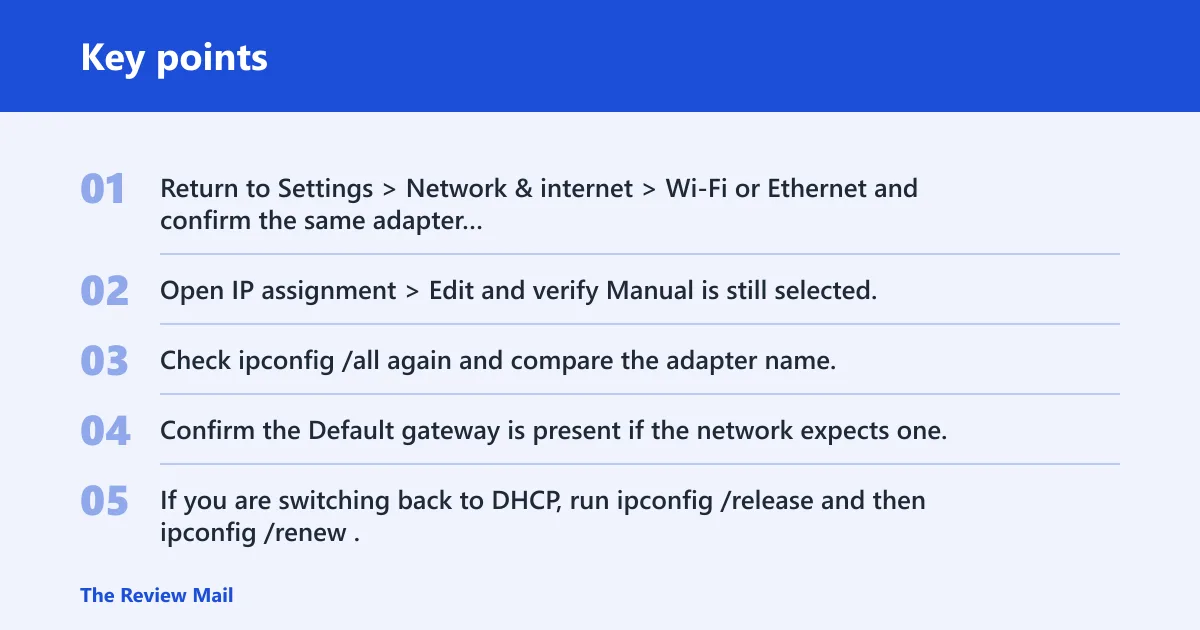
- Return to Settings > Network & internet > Wi-Fi or Ethernet and confirm the same adapter is selected.
- Open IP assignment > Edit and verify Manual is still selected.
- Check
ipconfig /allagain and compare the adapter name. - Confirm the Default gateway is present if the network expects one.
- If you are switching back to DHCP, run
ipconfig /releaseand thenipconfig /renew.
A common first-timer mistake is running ipconfig /release during a remote desktop session or while a VPN is carrying the connection. That can cut off access before the new address comes in. Use it only when you can tolerate a brief disconnect.
What common mistakes should you avoid?
Do not treat DHCP as a Windows-wide on/off switch. It is an adapter-level setting. Do not change Wi-Fi when the Ethernet cable is doing the work. Do not leave the gateway or DNS fields blank unless the network design truly calls for it.
Do not confuse APIPA with a real static address. A 169.254.x.x address means Windows could not get a usable assignment. If the address is in that range, the adapter still does not have a proper network path.
For work or school devices, the network team may require a specific range, gateway, or DNS server. If the manual values are wrong, the PC may connect locally but fail to reach the internet or internal services.
How do you enable DHCP in Windows 11?
Switch the adapter from Manual back to Automatic (DHCP) in Settings > Network & internet, or choose Obtain an IP address automatically in the adapter properties. Then run ipconfig /renew so Windows requests a fresh assignment.
Frequently asked questions
How do you enable DHCP in cmd Windows 11?
You can use the command line to return an adapter to DHCP, but be careful to use the exact interface name shown by Windows. The adapter name must match the one Windows uses, so confirm whether it is labeled Wi-Fi, Ethernet, or something vendor-specific before you run the command. First, identify the interface with netsh interface ipv4 show interfaces or ipconfig /all. Then apply the change to the correct adapter.
Command-line examples:
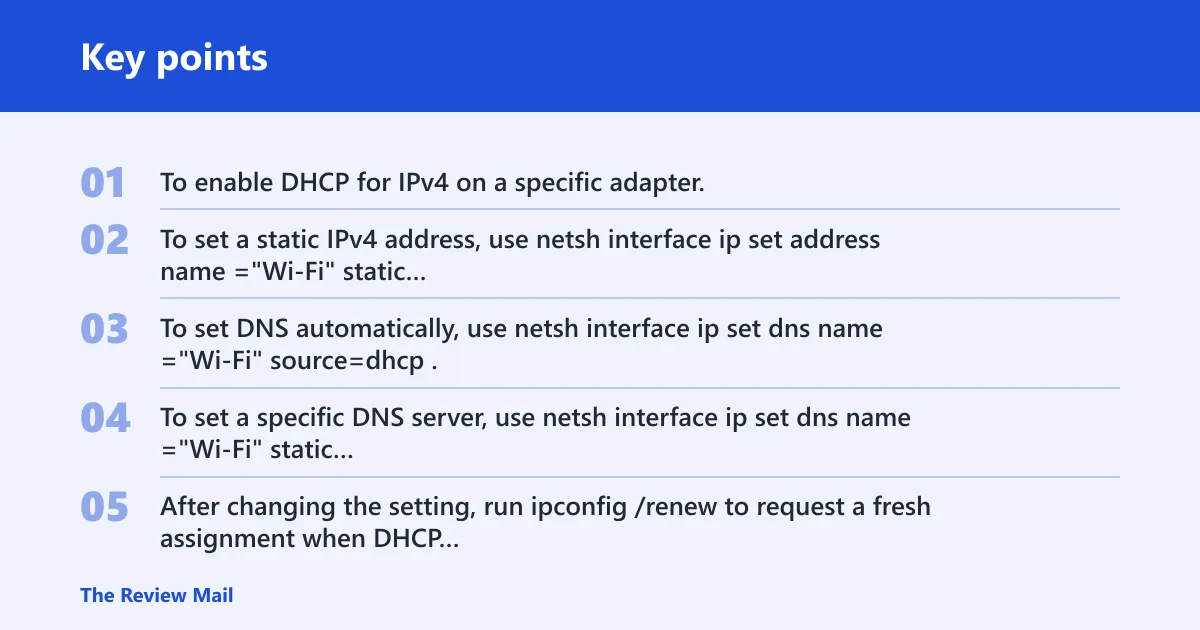
- To enable DHCP for IPv4 on a specific adapter, use
netsh interface ip set address name=”Wi-Fi” source=dhcp. - To set a static IPv4 address, use
netsh interface ip set address name=”Wi-Fi” static 192.168.1.50 255.255.255.0 192.168.1.1. - To set DNS automatically, use
netsh interface ip set dns name=”Wi-Fi” source=dhcp. - To set a specific DNS server, use
netsh interface ip set dns name=”Wi-Fi” static 8.8.8.8. - After changing the setting, run
ipconfig /renewto request a fresh assignment when DHCP is enabled.
For the netsh commands, the adapter name must match the actual interface exactly, and you should confirm whether Windows labels it Wi-Fi, Ethernet, or something vendor-specific before you run the command.
How do you enable DHCP for Ethernet Windows 11?
Open Settings > Network & internet > Ethernet, select the connected network, then set IP assignment to Automatic (DHCP). In the classic path, open Network Connections, right-click Ethernet, and choose Obtain an IP address automatically. You can also use netsh interface ip set address name=”Ethernet” source=dhcp if you are working from an elevated command prompt and the interface name is correct.
How do you enable DHCP for Wi-Fi Windows 11?
Go to Settings > Network & internet > Wi-Fi, open the current adapter’s properties page, and switch IP assignment back to Automatic (DHCP). Then confirm the adapter receives a non-169.254 address with ipconfig /all. If needed, use netsh interface ip set address name=”Wi-Fi” source=dhcp and renew the assignment.
How do you enable or disable DHCP in Windows 11?
Use Settings > Network & internet for the active adapter, then change IP assignment between Automatic (DHCP) and Manual. Disable DHCP by entering static IPv4 values. Enable it by returning to automatic addressing and renewing the assignment. Microsoft’s Windows network settings documentation and ipconfig reference are the right places to confirm the current adapter state after you switch.
How do you disable the DHCP client service in Windows 11?
That is not the right fix for a normal static IP change. The client-side adapter setting is what controls automatic addressing. Leave the service alone unless you are following a separate, documented network policy. For this task, use the adapter’s IP assignment controls.
How do you enable a DHCP server in Windows 11?
That is a different function from the client-side setting covered here. A DHCP server hands out addresses to other devices; your Windows 11 PC normally just requests one. If you need a server, use the router or a dedicated server role, not the adapter IP assignment page.
How do you disable DHCP in Windows?
On Windows systems, the practical method is still adapter-level manual addressing. Open the network adapter properties, switch from automatic addressing to manual, and enter the required IP values. Then verify with ipconfig /all that the adapter reports DHCP Enabled: No.