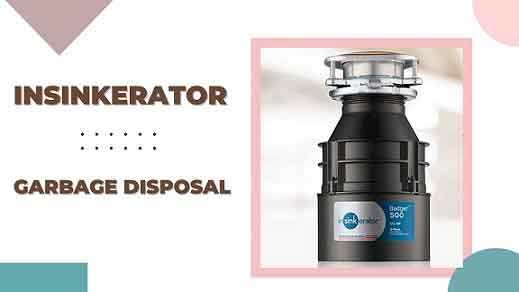
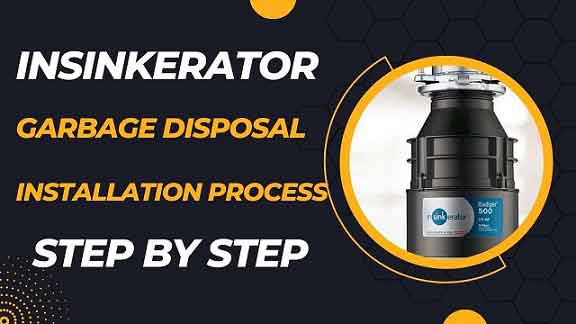
The InSinkErator garbage disposal installation process is relatively easy compared to other garbage disposals. The main reason is that InSinkErator provides a detailed installation on their garbage disposal user manual. Besides, they have several videos online about how to install a garbage disposal, which help beginners understand the process efficiently.
However, we have tried to highlight all the advice, tricks, and processes on how to install the InSinkErator garbage disposal guide. Besides, we have attached the video and obtained all the subtle aspects part by part so that you can understand it easily. So without wasting time, let’s begin.

Table of Contents
Before You Get Started: You Will Need;
- Wire Nuts (2 Size 54)
- Plumber Putty (.1 KG)
- Hammer
- Pipe Wrench
- Phillips Screwdriver
- Flathead Screwdriver
- Channel Lock Pliers
- Dishwasher Drain Connector Kits
How to Remove Waste Garbage Disposal
This part is specially made for those who have an old garbage disposal and want to know how to remove and replace garbage disposal. So if you don’t have an existing garbage disposal, and want to install a new one, then you can skip this part and go to our following instructions on how to install the InSinkErator garbage disposal part.
Follow the steps to remove your old garbage disposal easily:
Step 1: Turn Off Electricity
This is an essential part of any electrical work, first, turn off the connected electric line in the disposal, and ensure there is no electricity in the unit. After that, if there is any cover on the disposal’s surface, remove it. Also, remove the ground screws from both wire connectors.
Step 2: Loosen the bolts
Separate the hose clamp from the dishwasher discharge hose, and pull the hose from the fittings. Then, if you want to undo the crosspiece, loosen the bolts connecting the drain flange with the disposer.
Step 3: Remove the Old Garbage Disposal Unit
In the case of final disposal removal, you have to pay attention to several things, especially you can see the number of ways to fasten the sink drain, but most commonly, you can see the mountain ring assembly.
However, to remove your disposal, mount from below, and keep turning the 3-tab mounting ring at the top counterclockwise direction until the disposal unit falls away. Then remove the residue by loosening the three bolts and closing the retaining ring. In this way, you can easily remove your disposal.
After successfully removing the garbage disposal, if you want to install a new one, follow the following steps.
How to Install InSinkErator Garbage Disposal: (Step by Step)

In this section, we shared the complete process of installing your new InSinkErator garbage disposal. However, almost all garbage disposal installation processes are similar, so if you want, you can follow this method for other brands’ garbage disposal and installation.
Short Note: Before starting the installation, you must read the user manual and installation part of your InSinkErator garbage disposal model and understand each part carefully.
Step 1: Disconnect the Pipe and Remove the Strainer
First, turn OFF the electric circuit breaker in your kitchen, and under the P-trap, set an empty bucket. Then hold the pipe properly with the help of the large channel lock pliers for loosening the nuts and remove them when the connections become free.
After that, disconnect the down drain pipes from under the sink using the large channel pliers. After removing the sink strainer, if there is any excess putty in it, remove it sufficiently.
Step 2: Apply Plumber Putty
Take the suitable portion of plumber putty, and press it properly around the flange. After applying plumber putty, take a towel and lay it on the sink. Then set the disposal on the flange so that it is held and does not move.
Step 3: Install the Snap Ring
Install the snap ring by pulling and snapping it into place. Then tighten the screws evenly with the help of a screwdriver, making sure that the backup flange is tight. Also, clean the excess putty.
Step 4: Connect the Dishwasher Drain
Use a hammer to remove the drain plug from the disposal inlet, then connect the dishwasher.
Step 5: Connect the Electrical Parts
Remove the electrical cover plate from your garbage disposal and connect the cables by matching the color of the electrical cords. After all the cable connecting is complete, push the wires back and reattach the cover plate.
Step 6: Connect the Drain
Finally, insert the gasket into the discharge outlet, then attach the discharge tube with flange and bolts. Then hang by aligning the mounting ring with 3 tabs. Also, take the wrench and use it to lock the tabs.
Connect the dishwasher drain and ensure that the discharge pipe is lined up properly and connected to the drain pipe. Use a tee pipe before the P-trap.
After successfully connecting the garbage disposal, plug in and turn ON the power, and then test with water and some garbage to see whether it is working properly.
Final Verdict
You need at least basic plumbing knowledge for new garbage disposal installation. This way, during installation, you will quickly understand every user manual’s every point. However, if you are an entire beginner, and have no knowledge of plumbing tools and other aspects, then there is a chance of damaging the miniature disposal tools.
So I will highly recommend you to get help from a professional plumber. Hopefully, our how to install InSinkErator garbage disposal guide has helped you a lot.
b
Related Post:
Best InSinkErator Garbage Disposal
How to Turn ON InSinkErator Garbage Disposal
Which Garbage Disposal Should I Buy?
How to Reset InSinkErator Garbage Disposal
How to Get Rid of Smell from Garbage Disposal?
How to Keep Garbage Disposal Hot Or Cold Water?
How Does Ice Sharpen Garbage Disposal Blades?
Do Garbage Disposals Have Blades – How Does It Work?

Williams Kane is a blogger and writer. He’s passionate about writing and connecting with the community, especially when it comes to sharing his ideas through writing.
I am a versatile author with a passion for exploring a wide range of topics on our multi-niche website. With a background in research and a love for writing, I bring a unique blend of expertise to our platform.
My journey began in the world of science, where I earned a degree in biology and developed a deep fascination for the natural world. This background enables me to delve into topics related to ecology, environmental conservation, and the wonders of the animal kingdom.
However, my curiosity knows no bounds, and I have ventured into various other niches as well. From technology trends and digital innovations to health and wellness tips, I strive to provide well-researched and engaging content that informs and entertains our diverse audience.
Furthermore, my dedication to staying current with the latest developments in each niche ensures that our readers receive up-to-date and reliable information. Whether it’s deciphering complex scientific concepts or simplifying tech jargon, I take pride in making complex subjects accessible to all.
Join me on our multi-niche journey, where we explore the depths of knowledge and share insights on a multitude of topics to inspire, educate, and entertain.


